Week 8
Formal Elements Image Sequence + Analysis
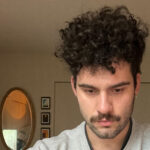

Color
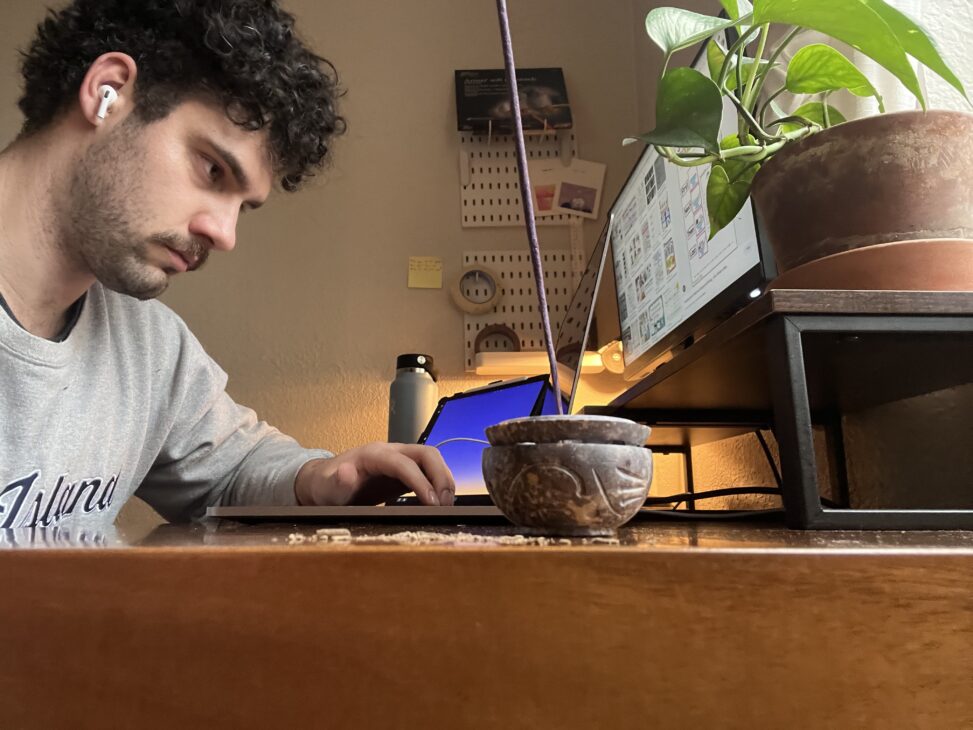
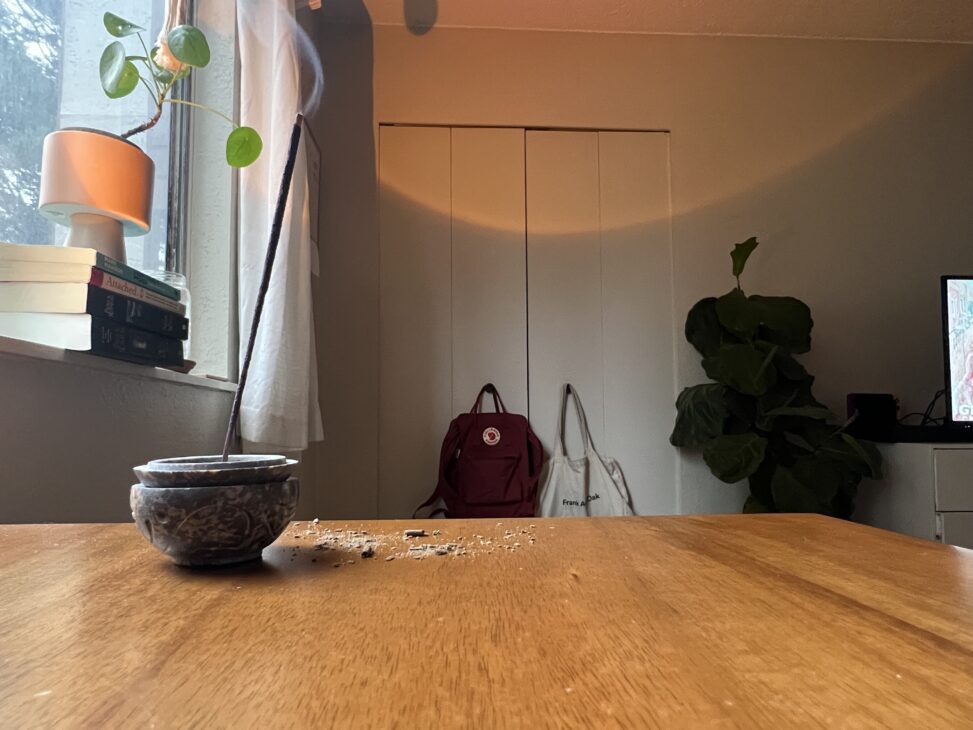
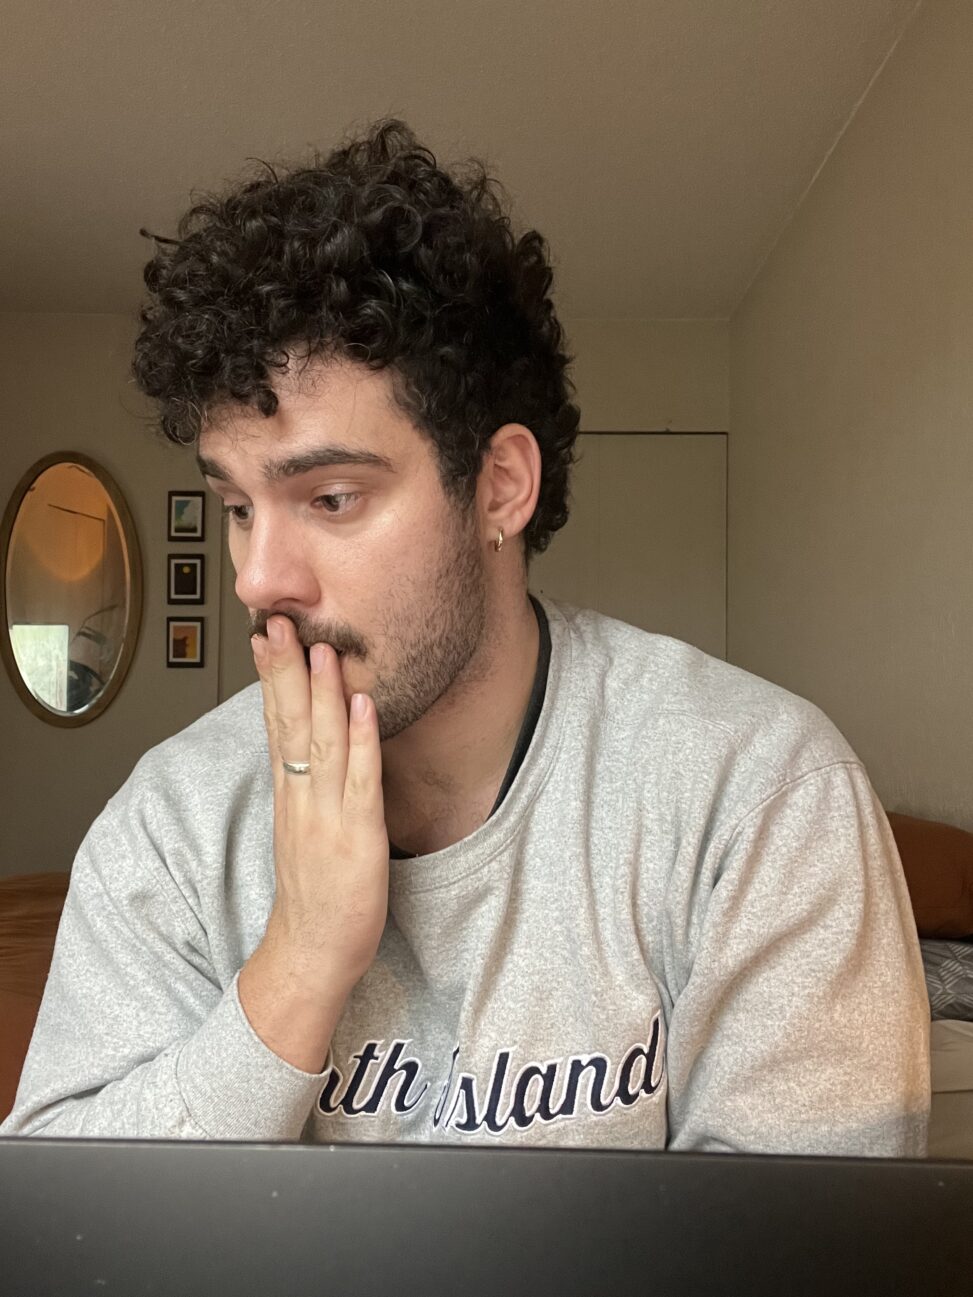
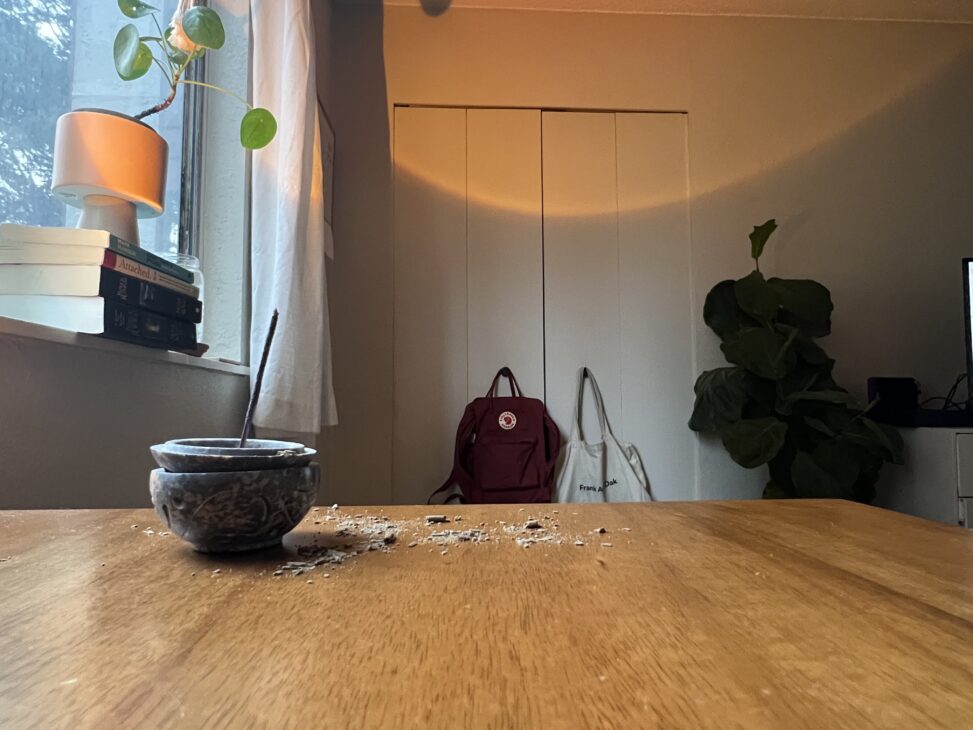
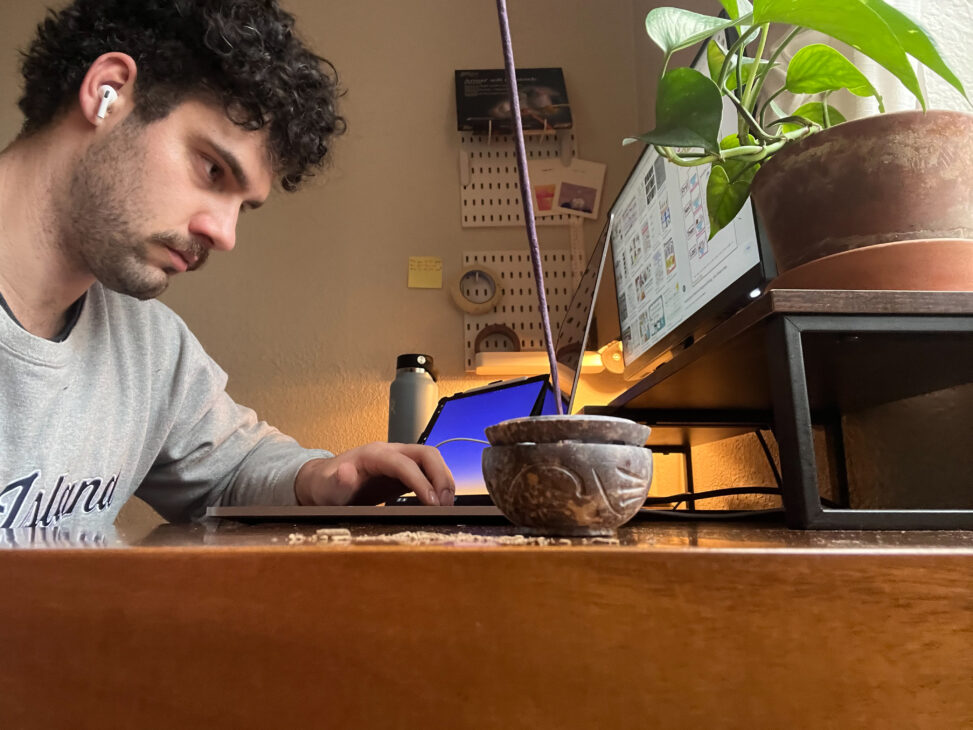
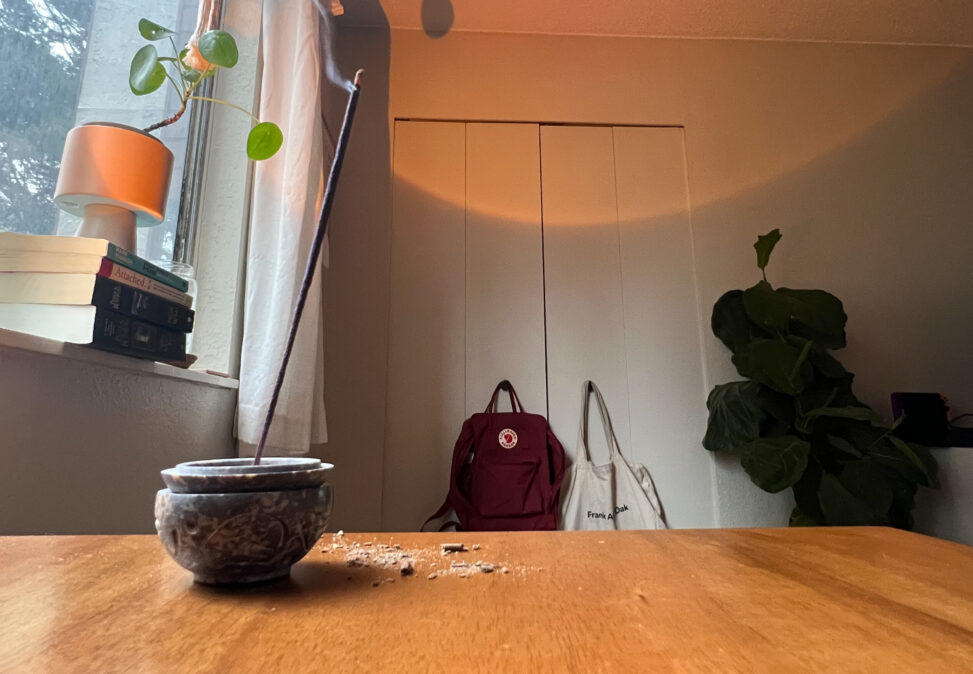
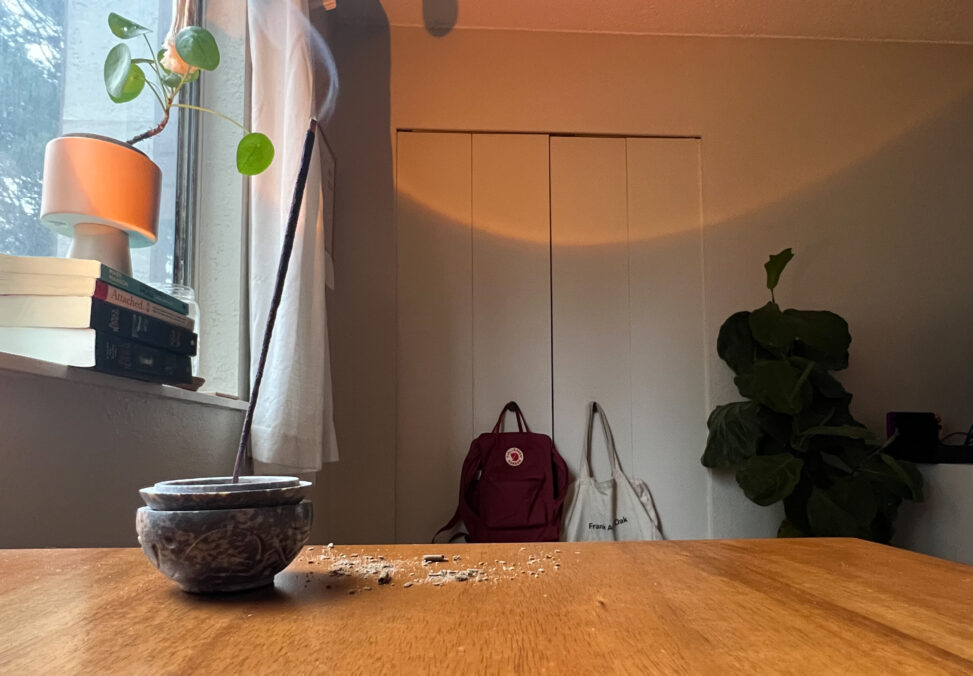
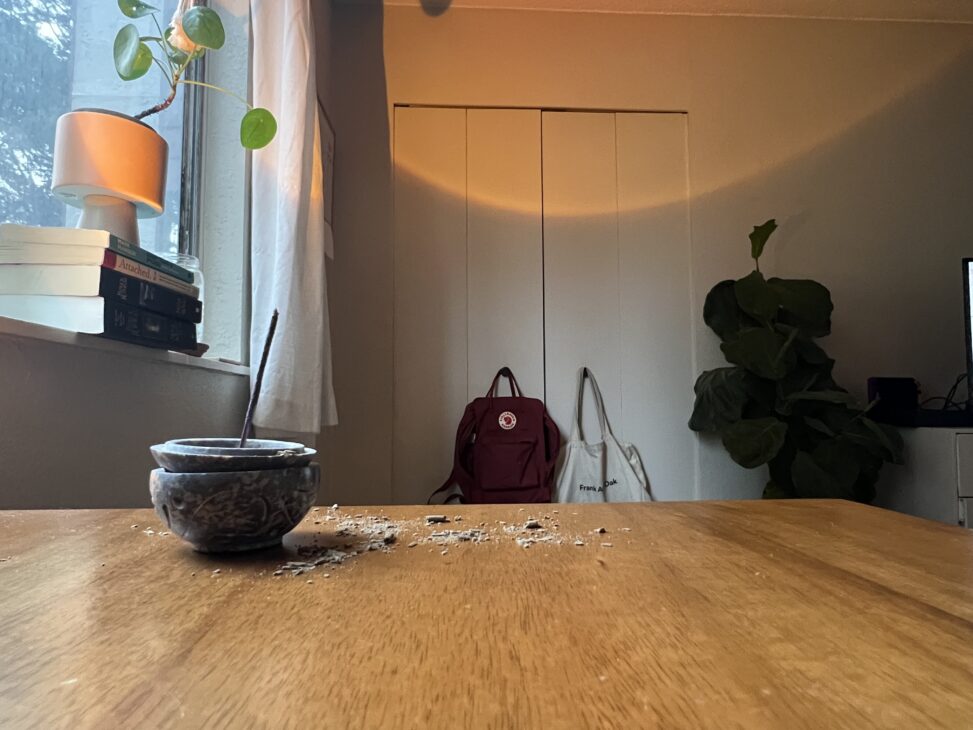
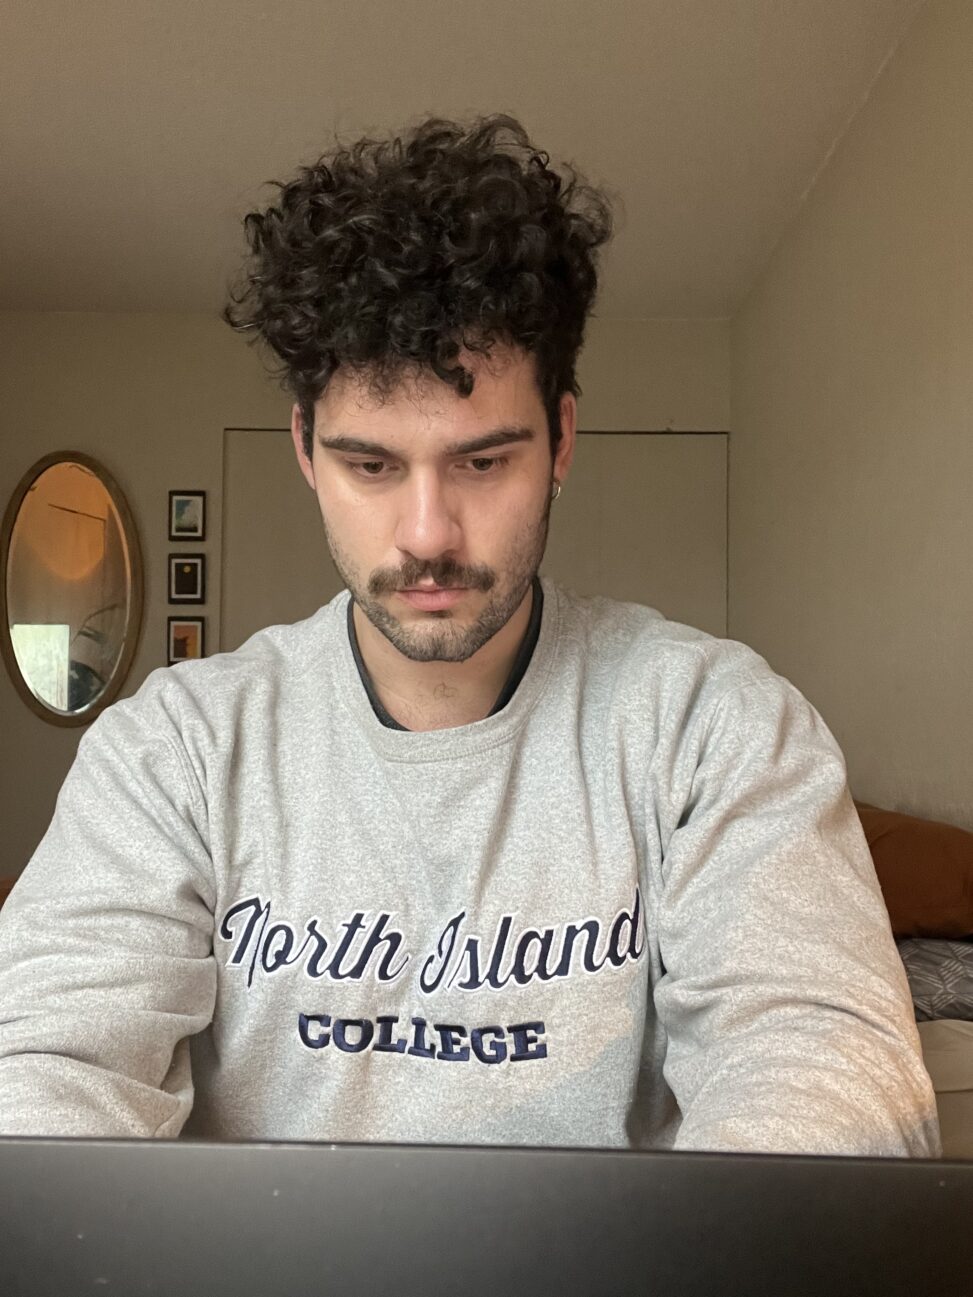
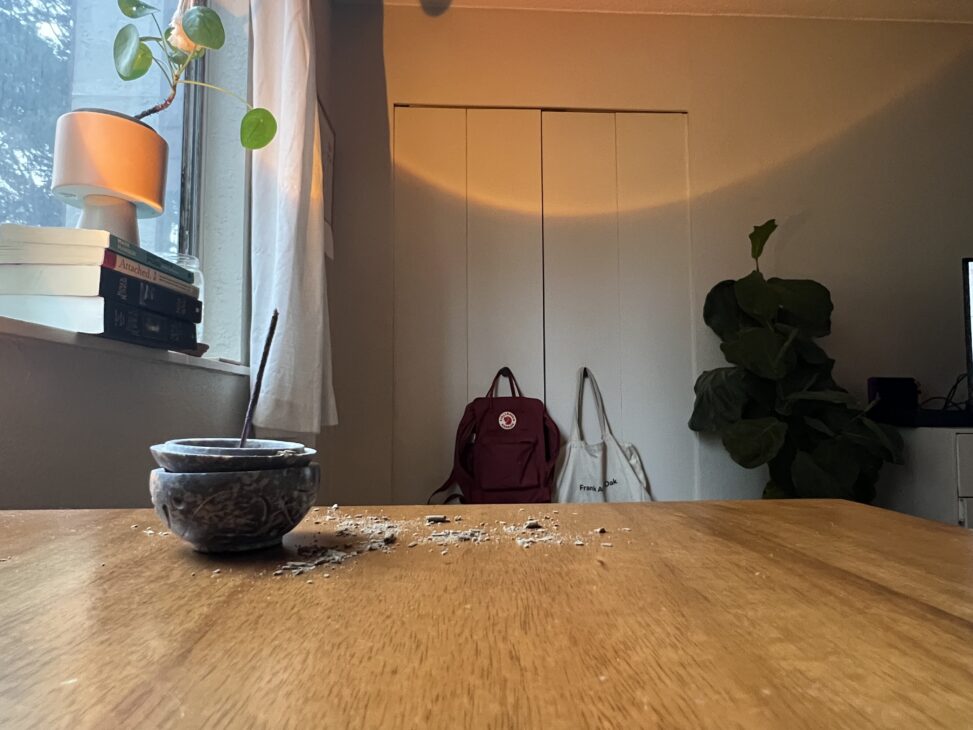
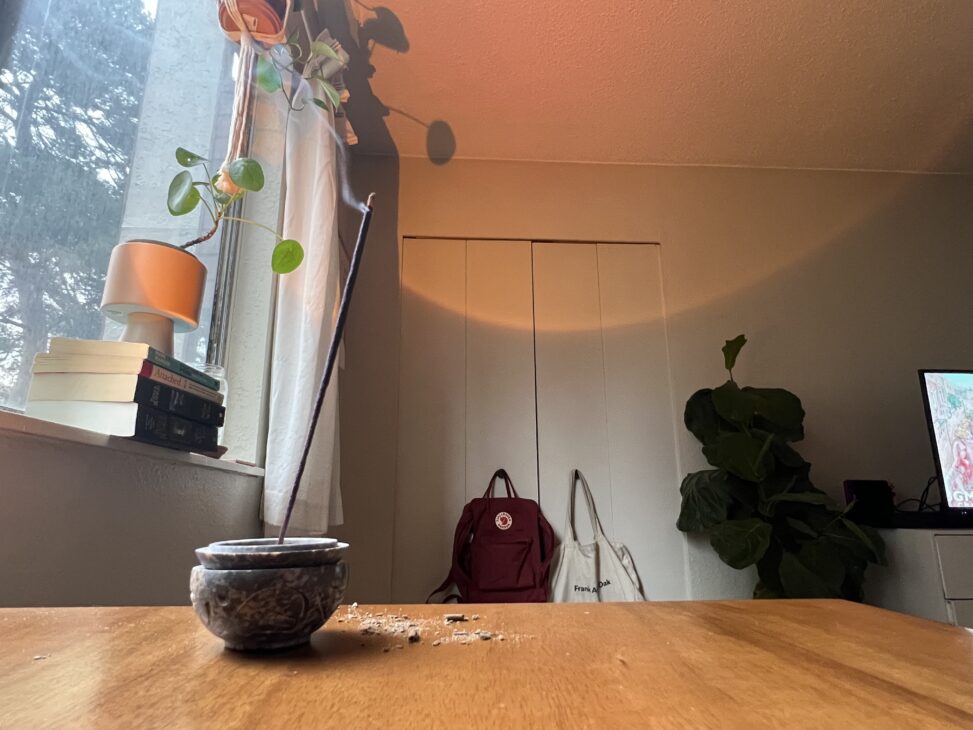
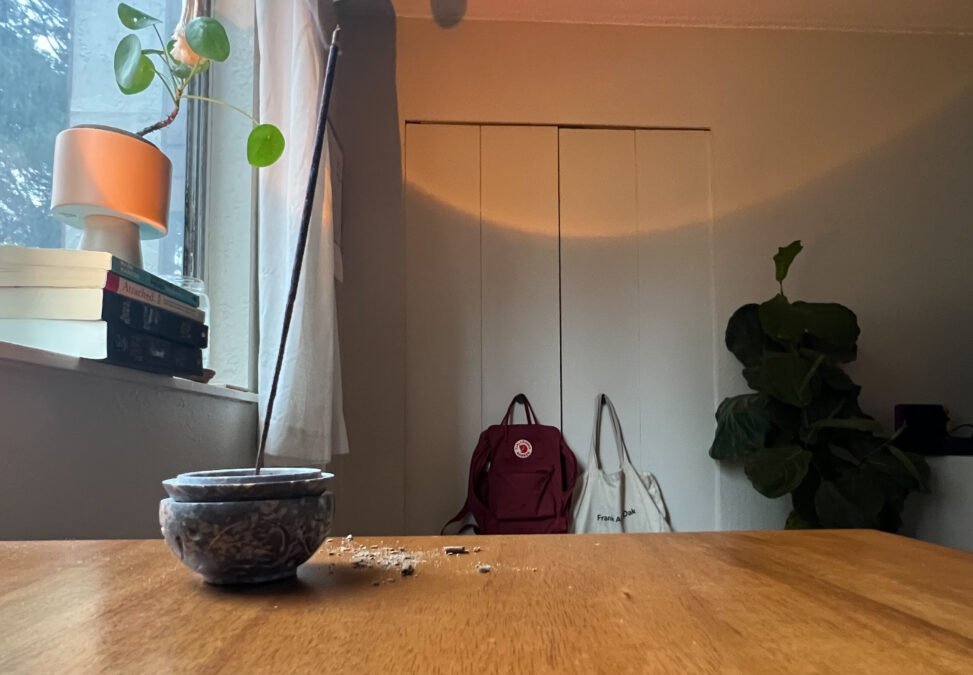
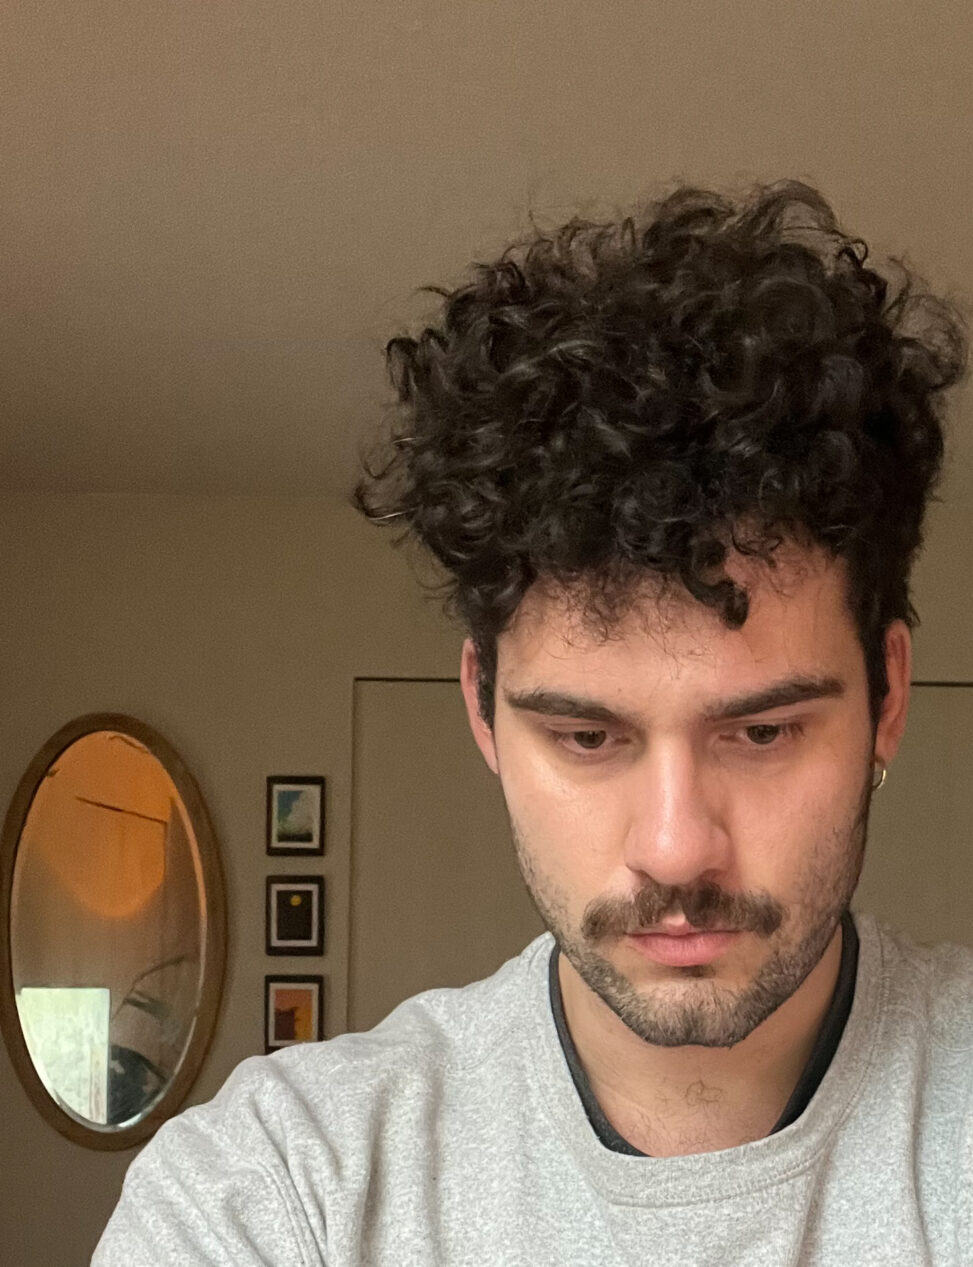
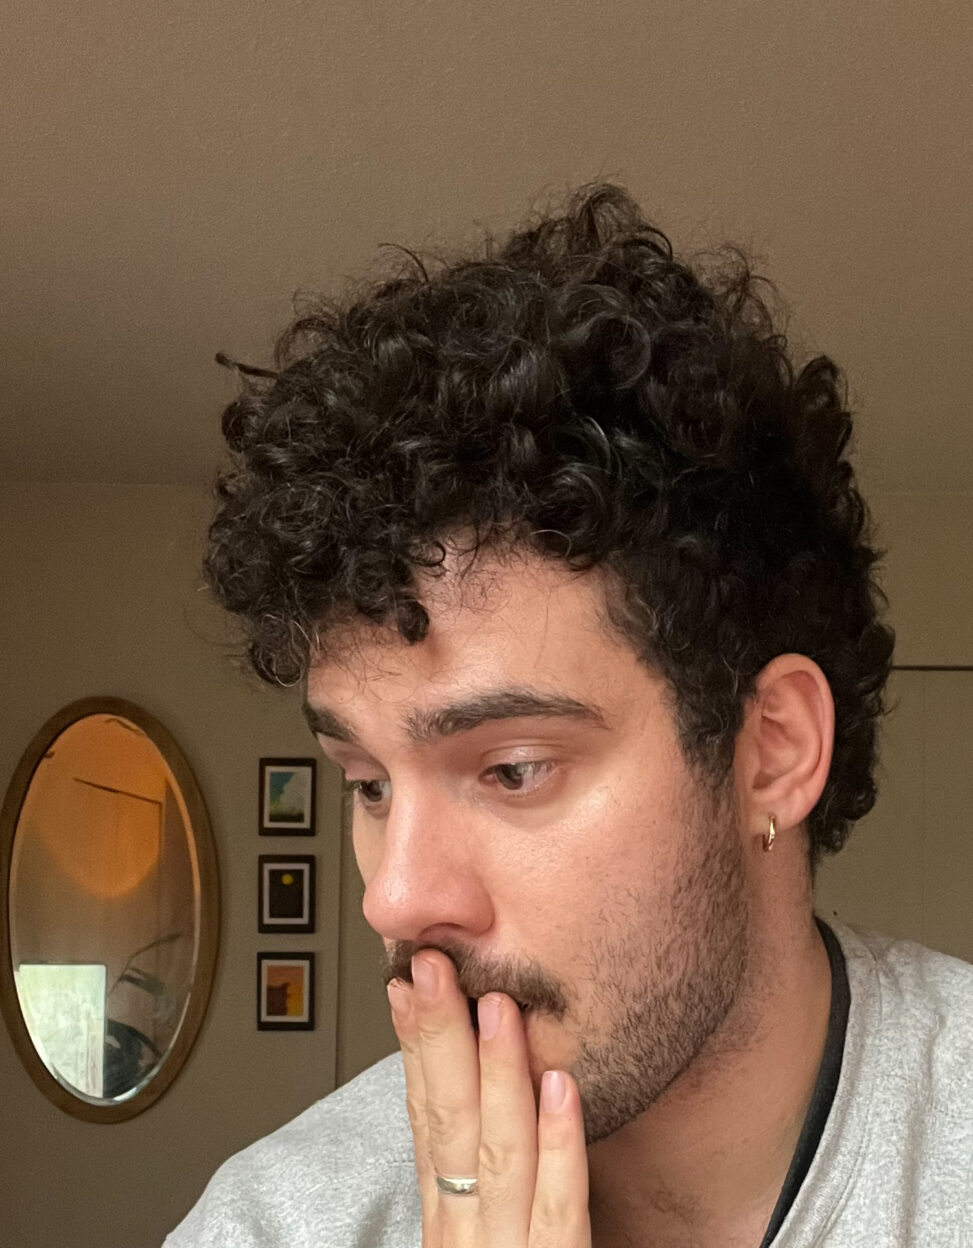
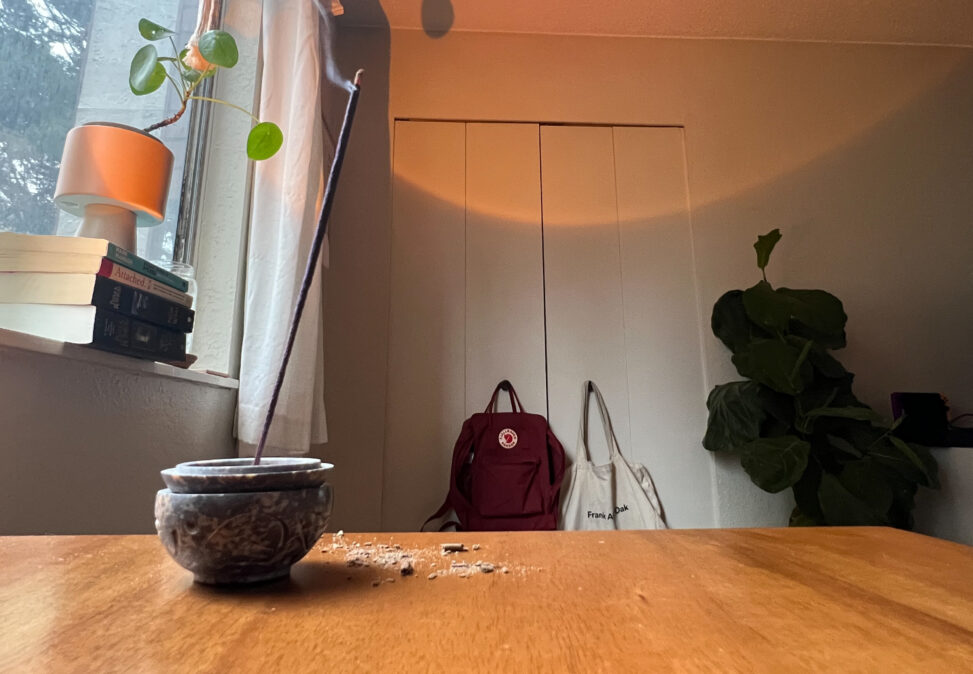
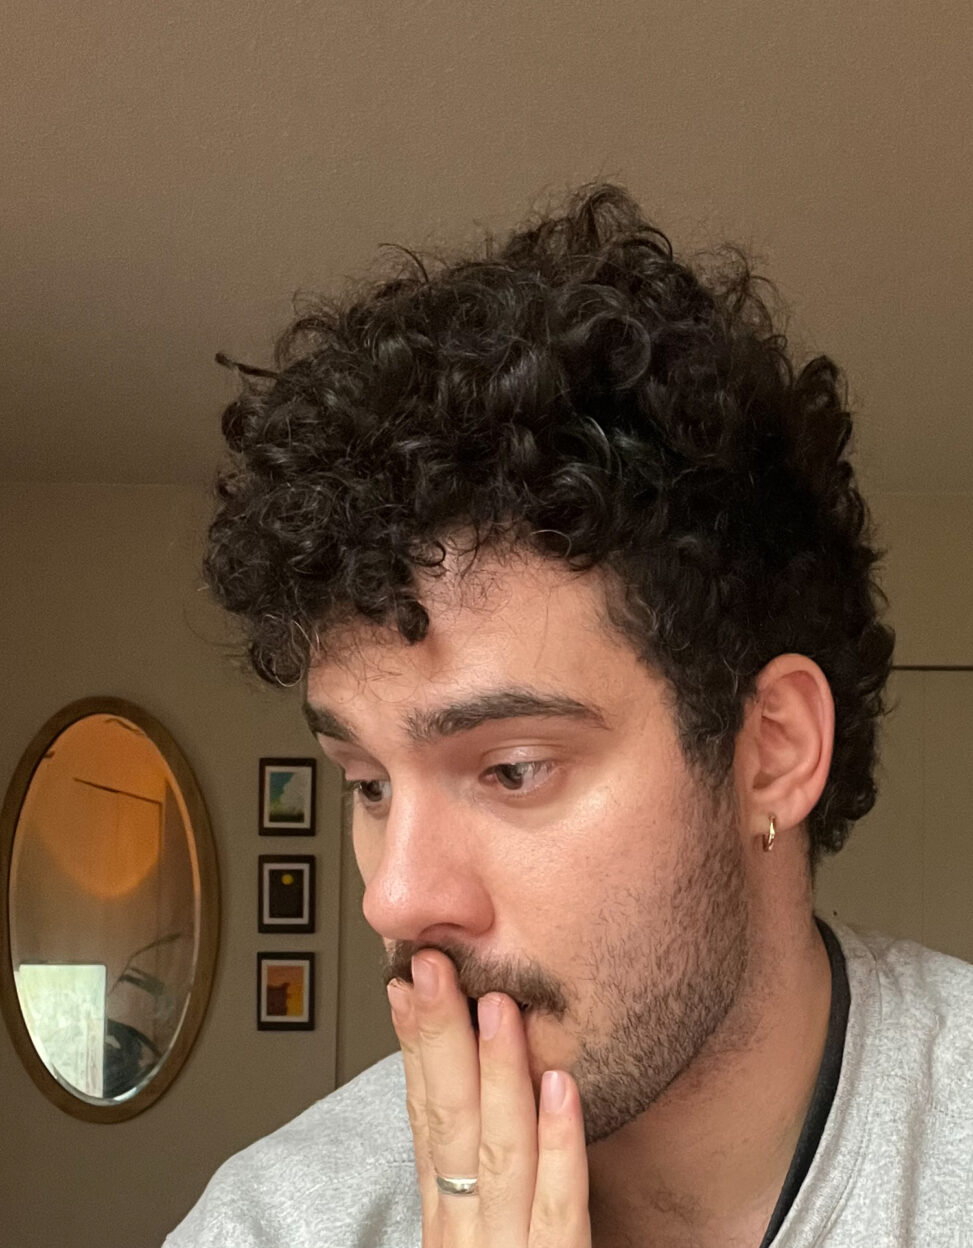
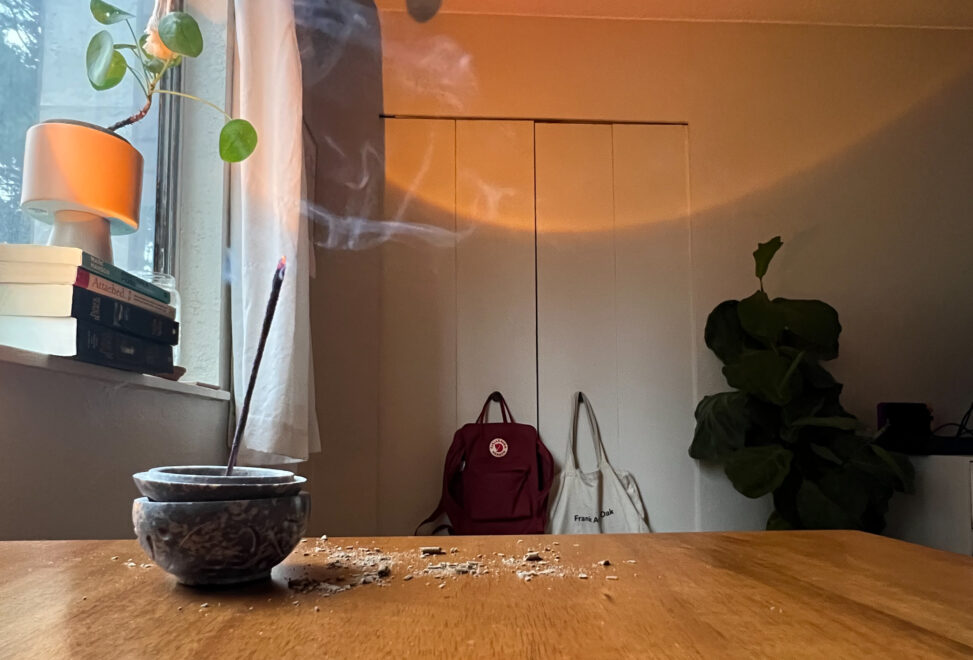
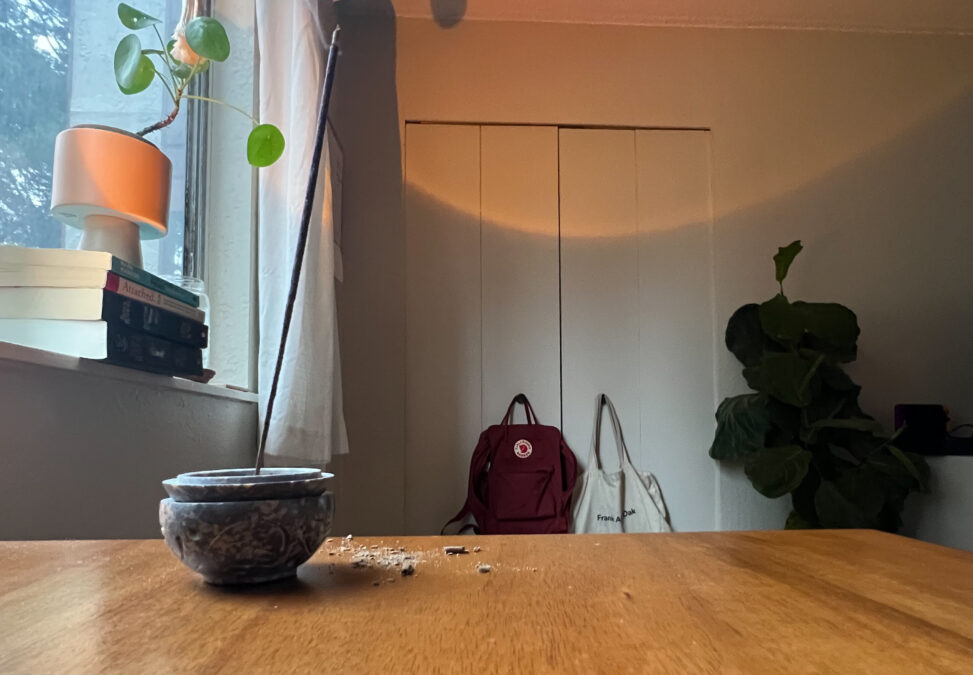
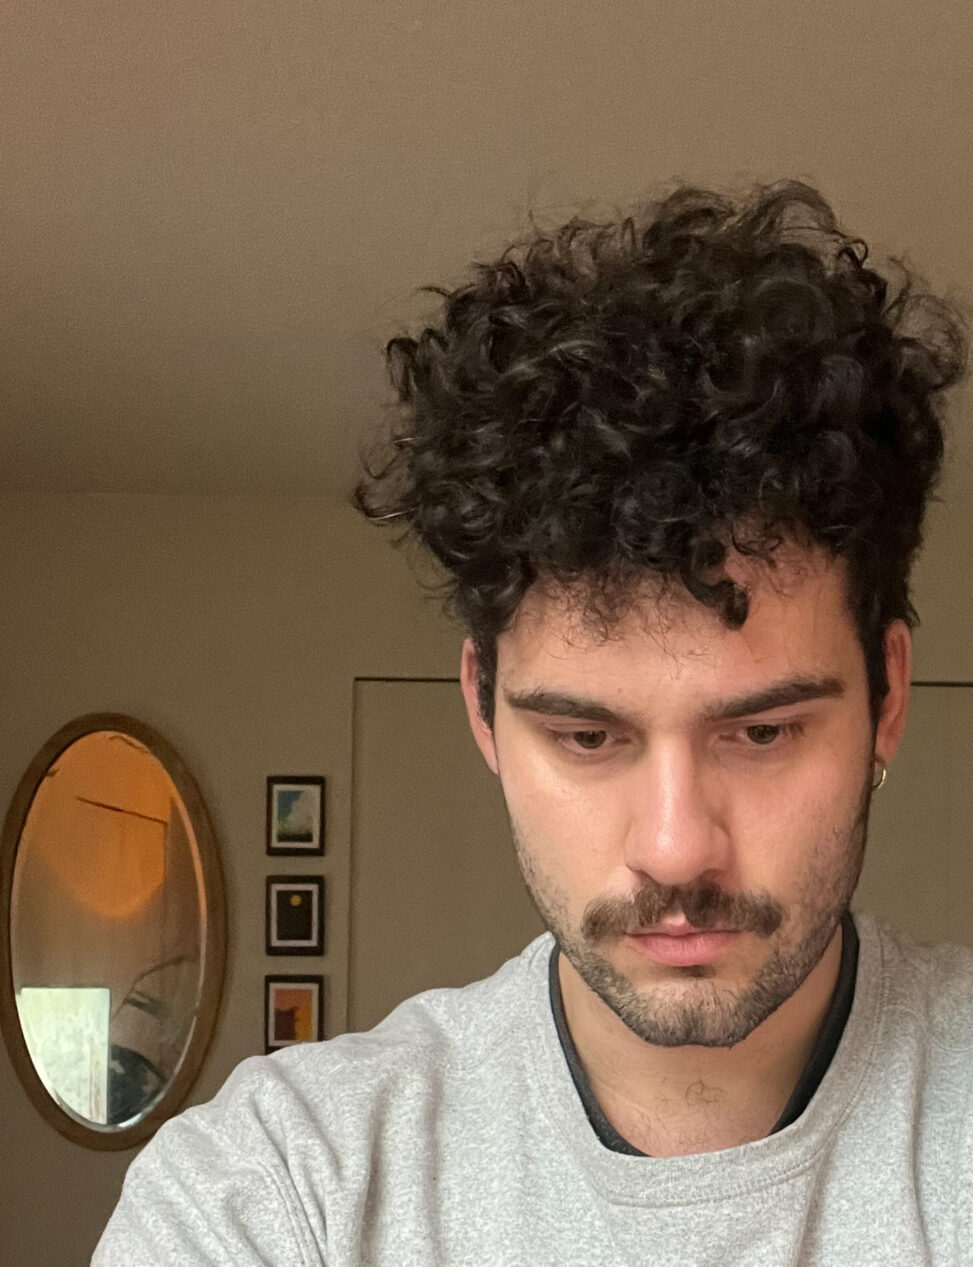
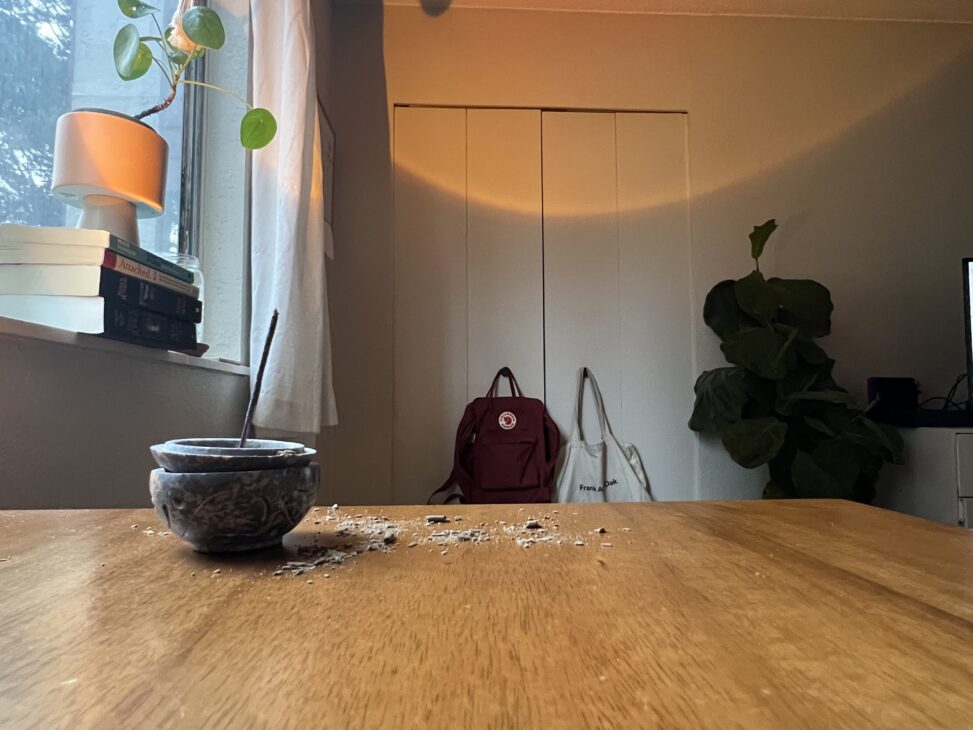
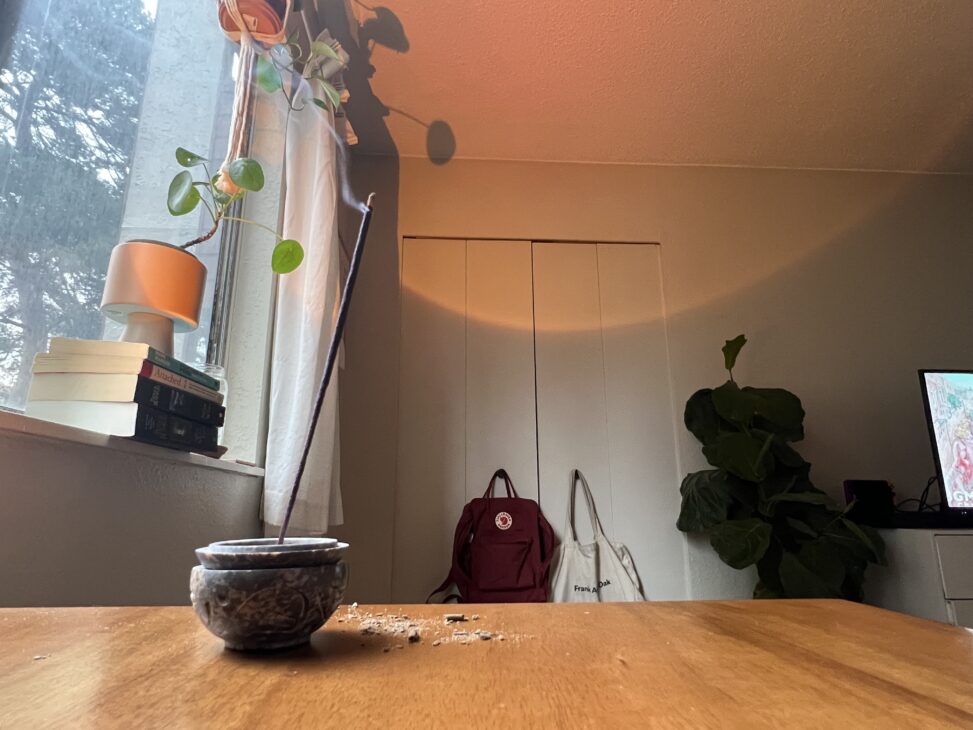
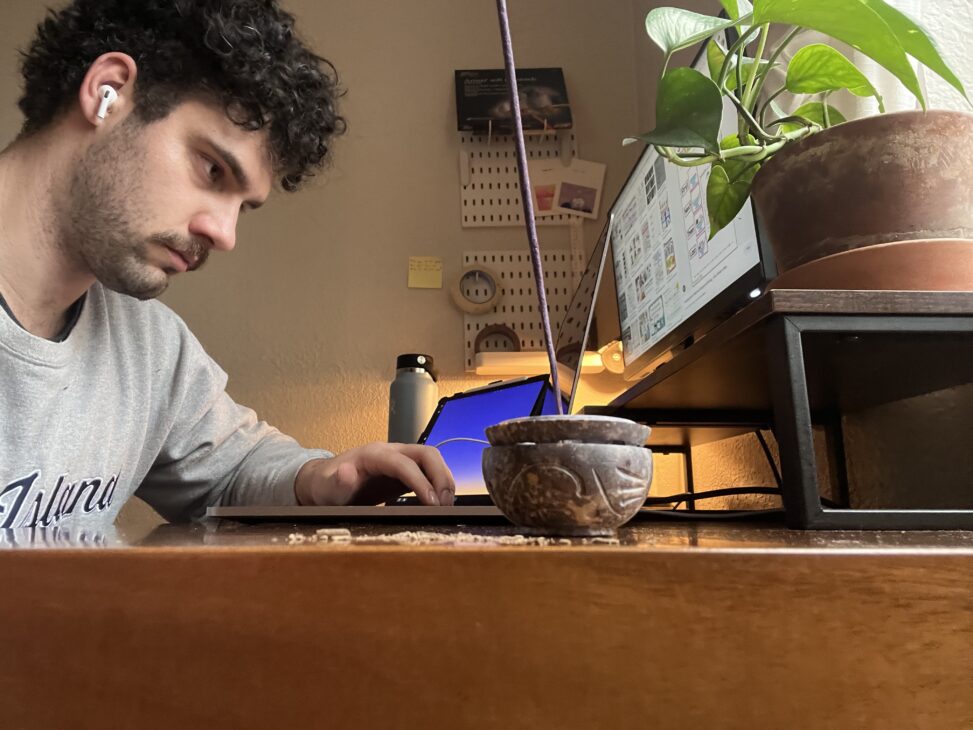
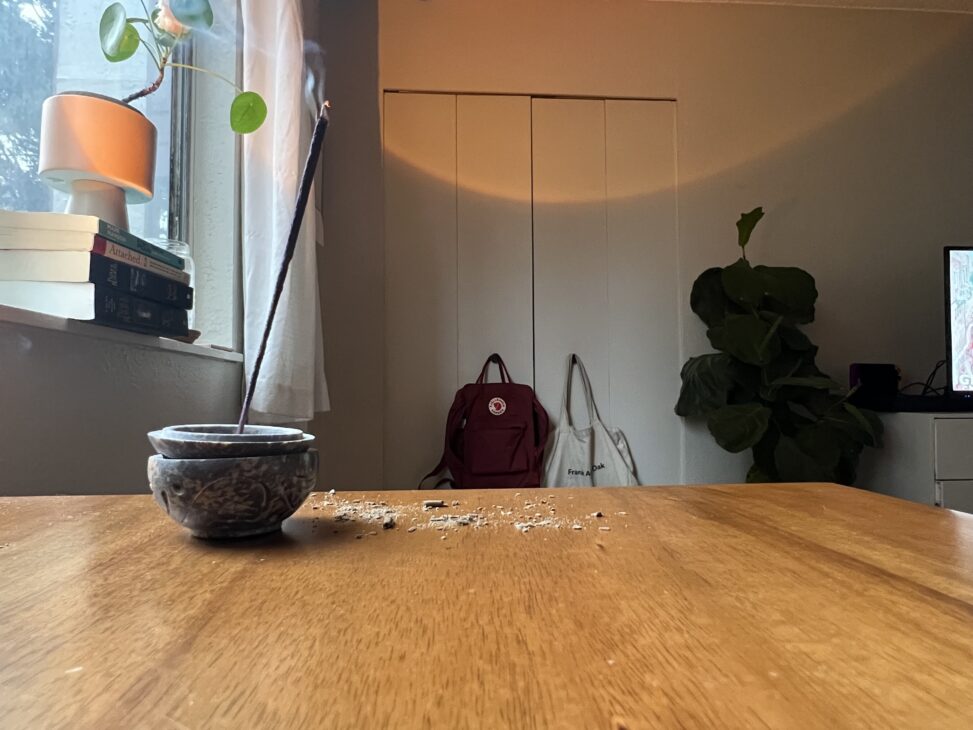
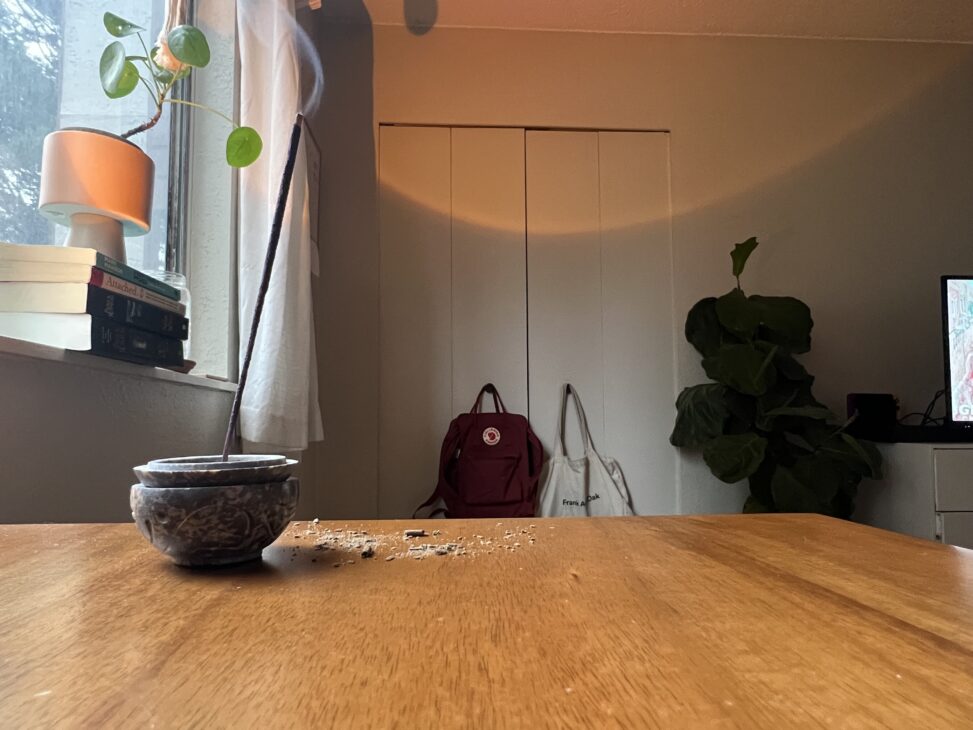
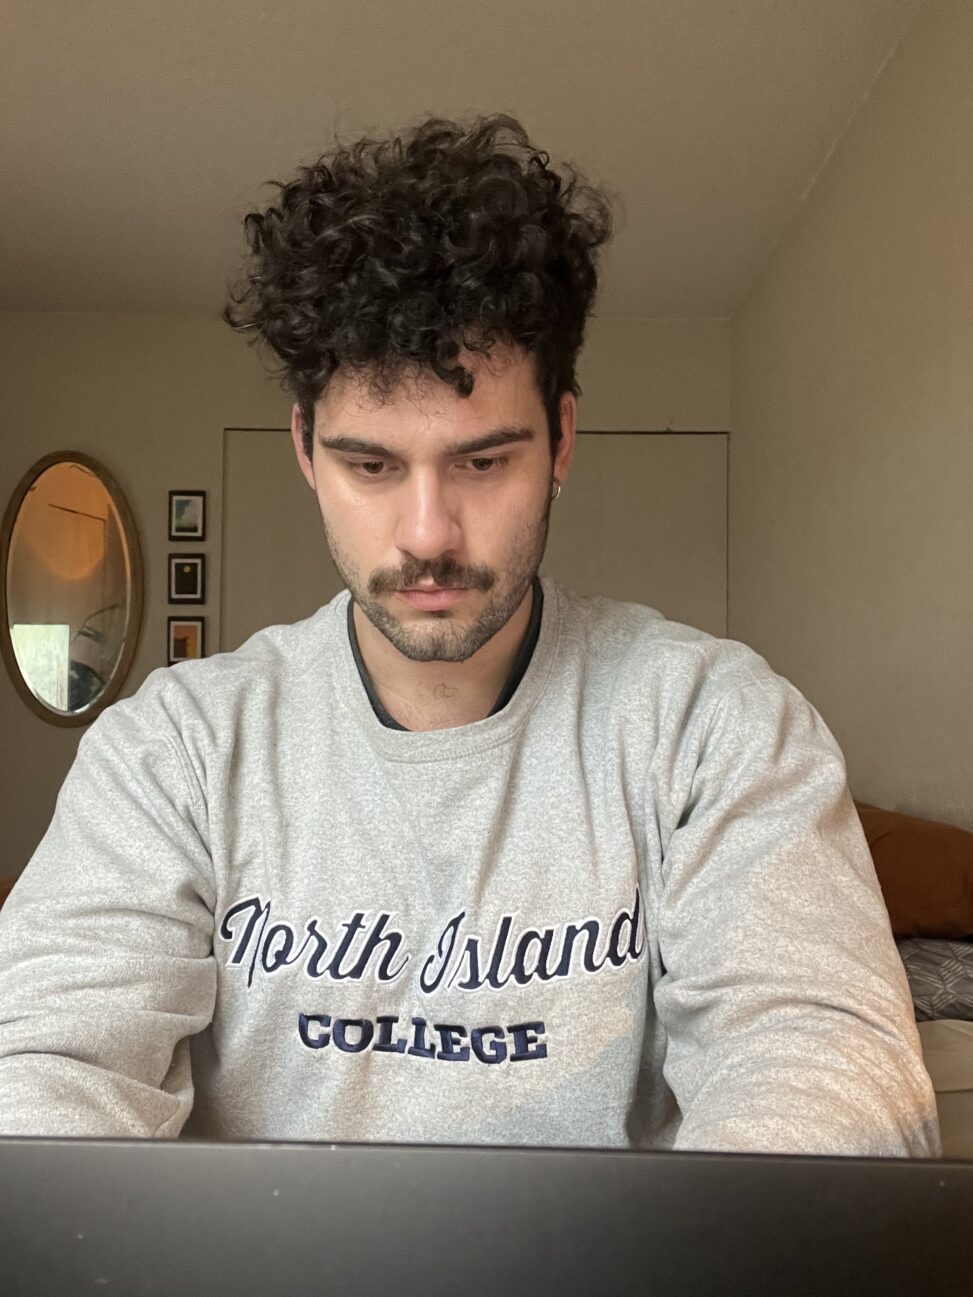
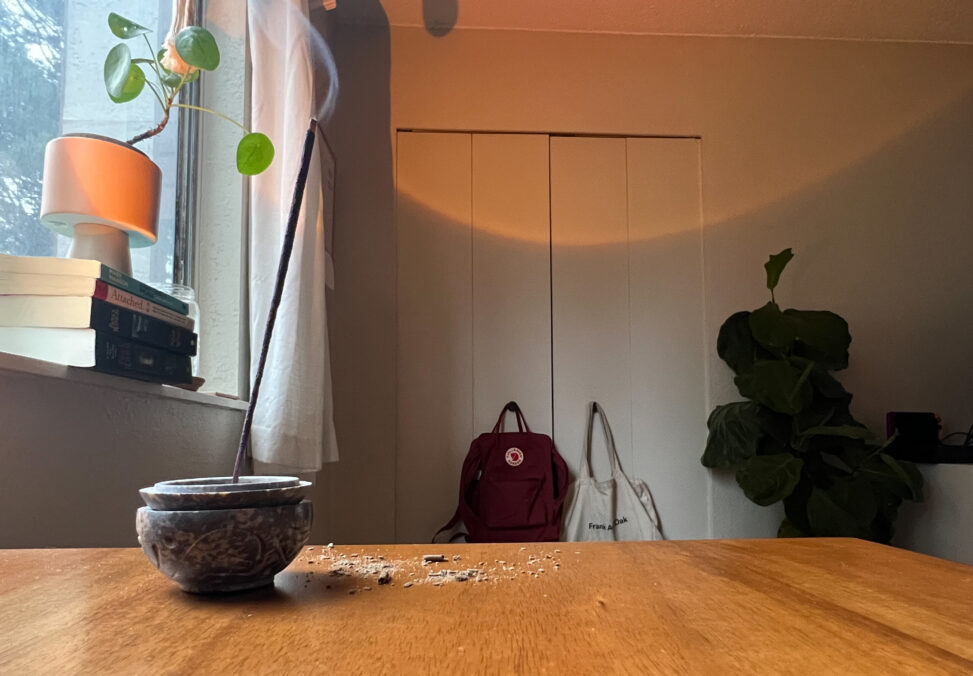
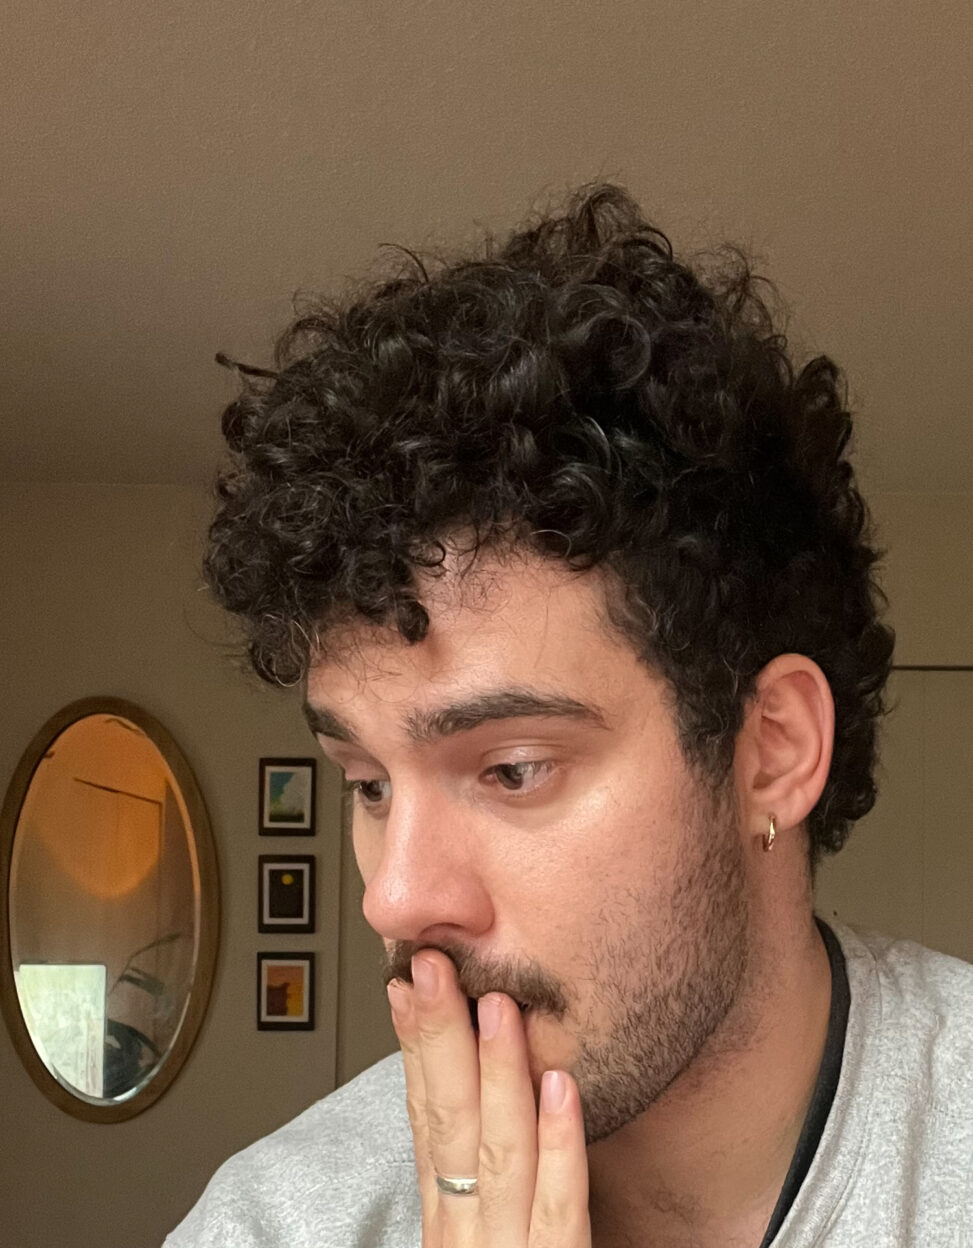
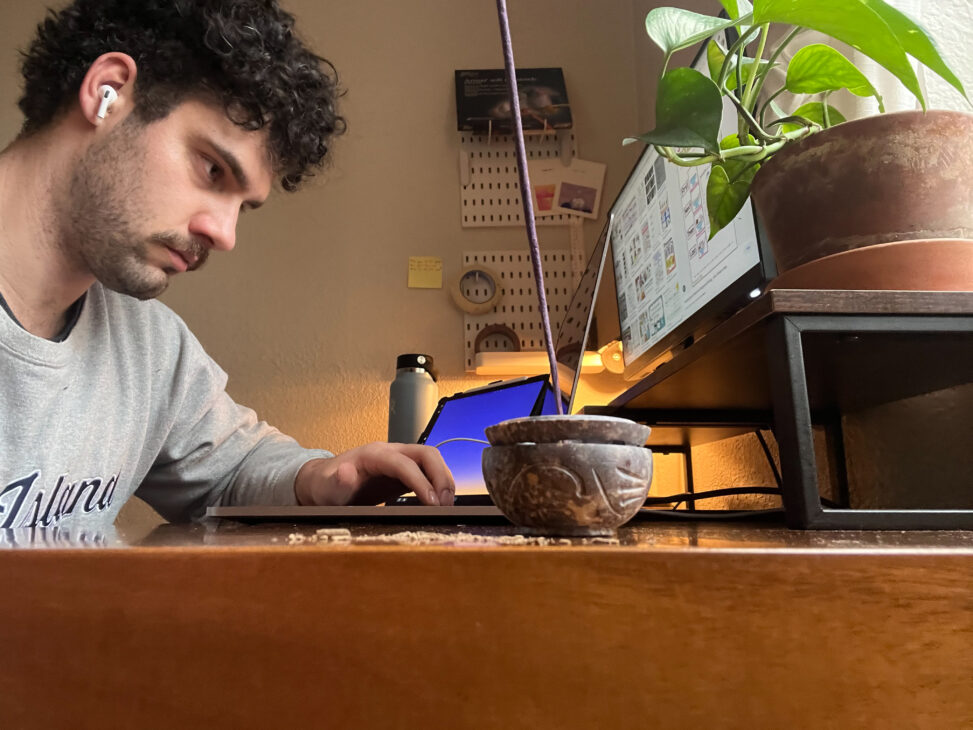
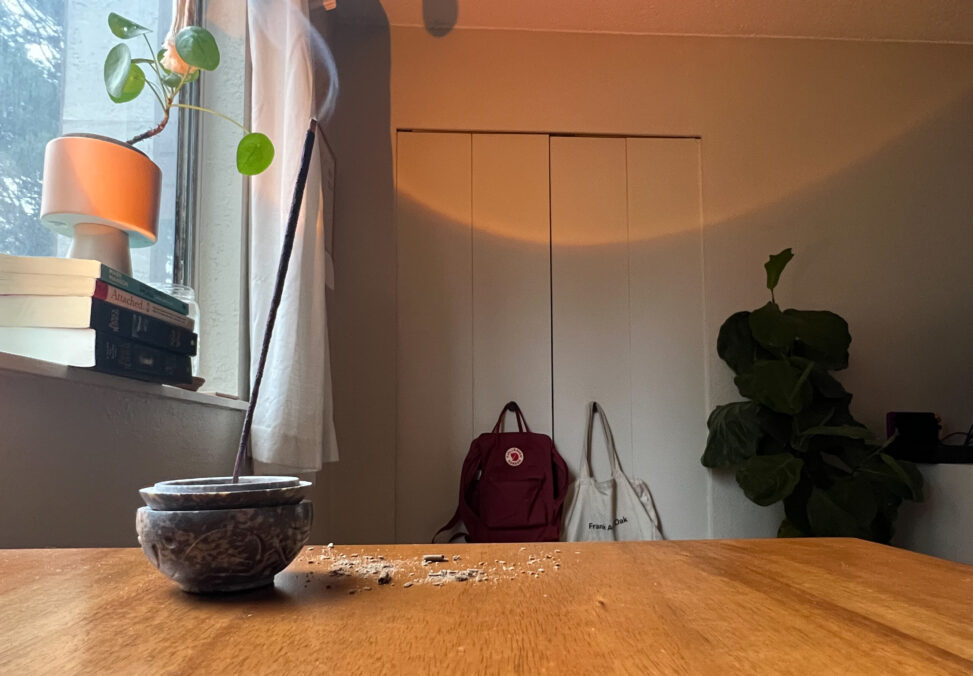
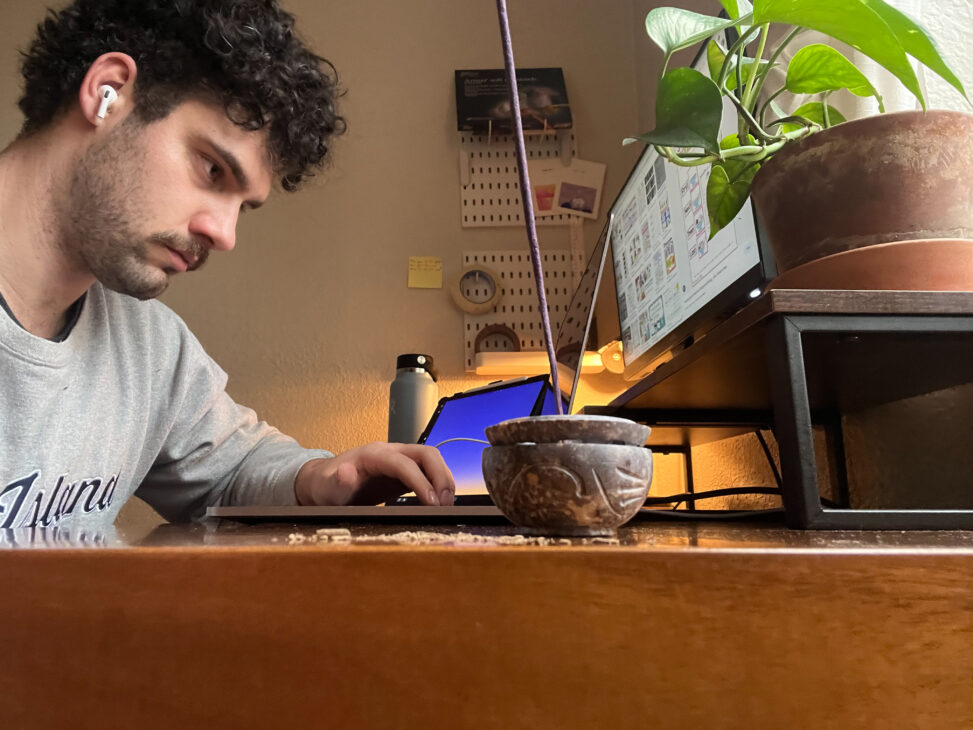
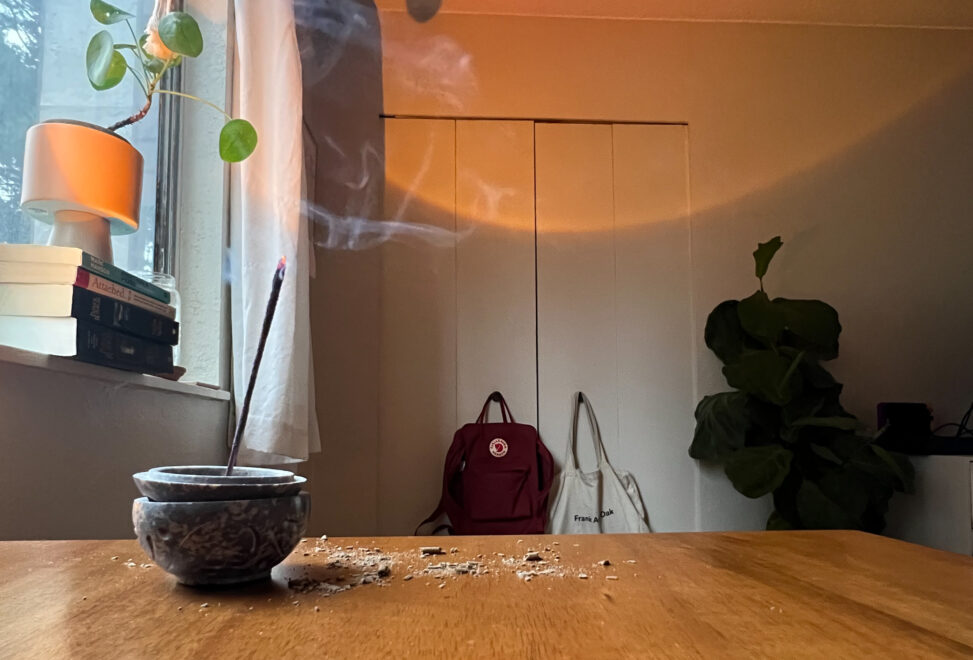
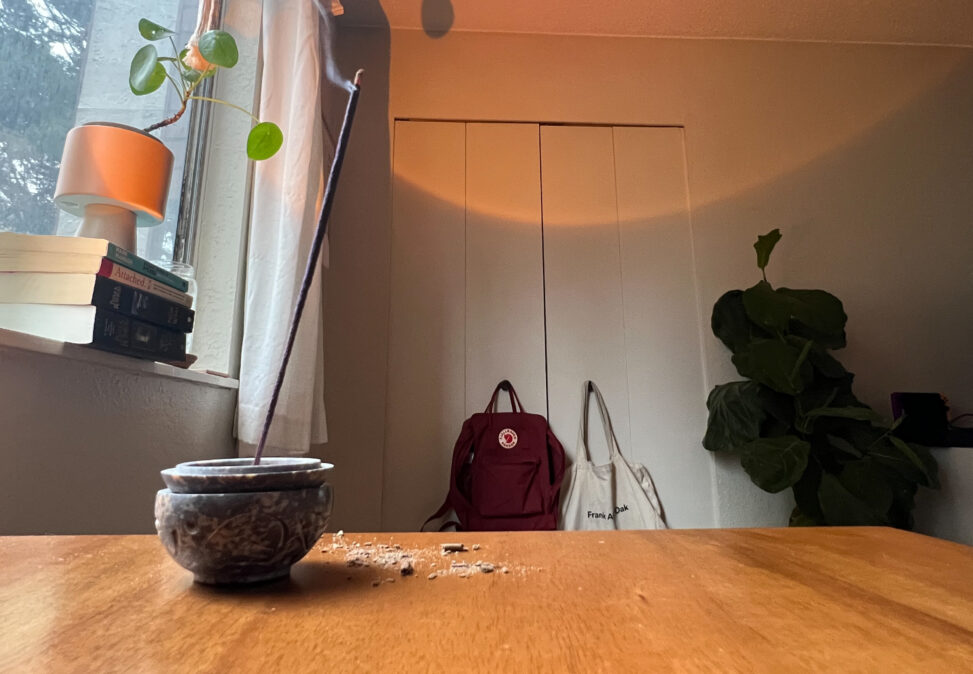
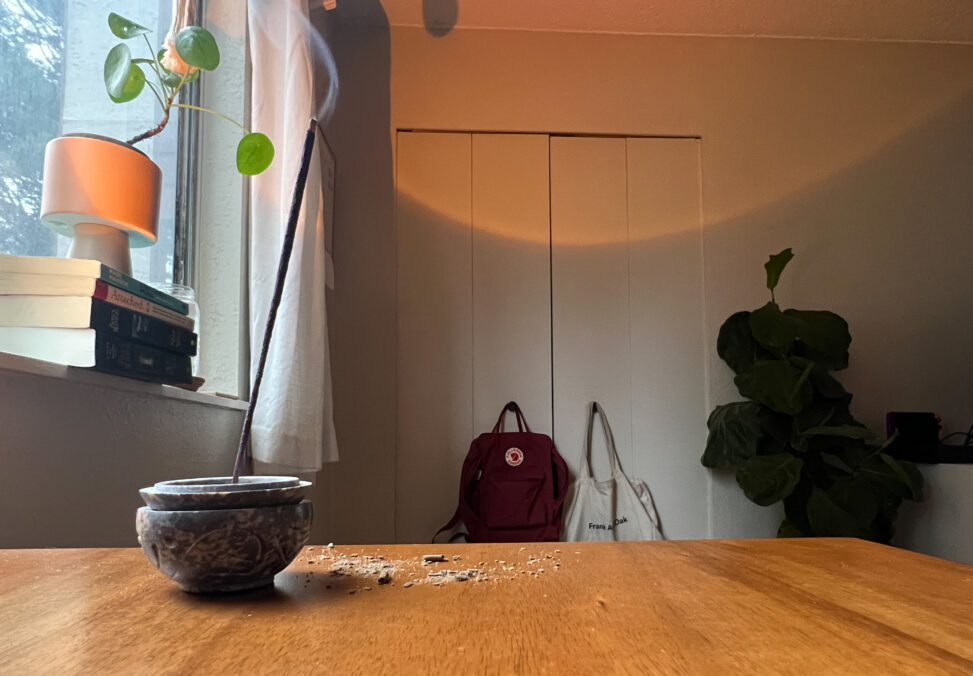
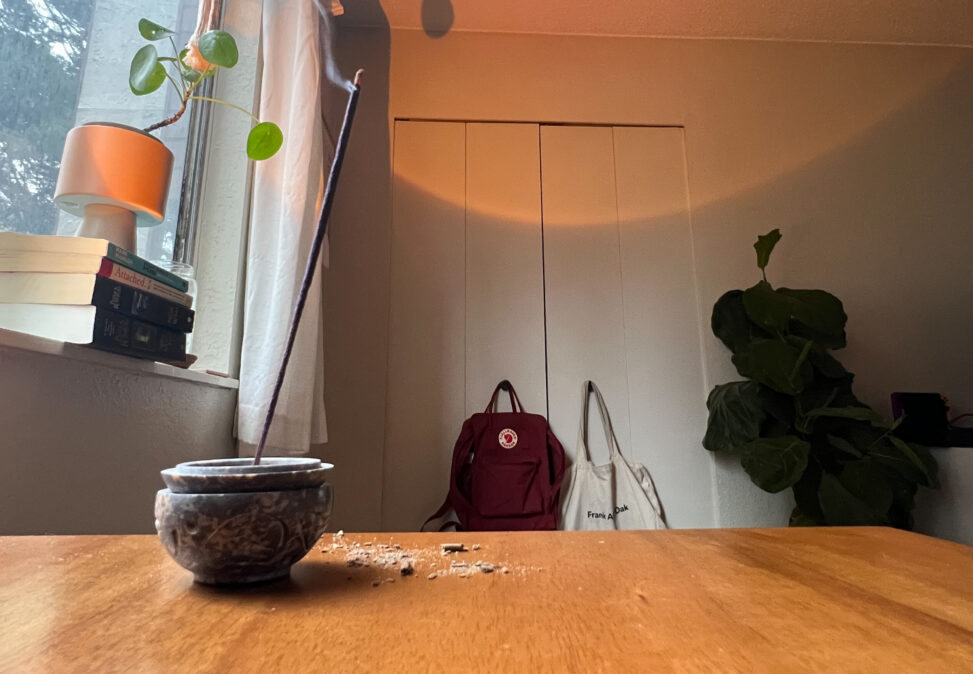
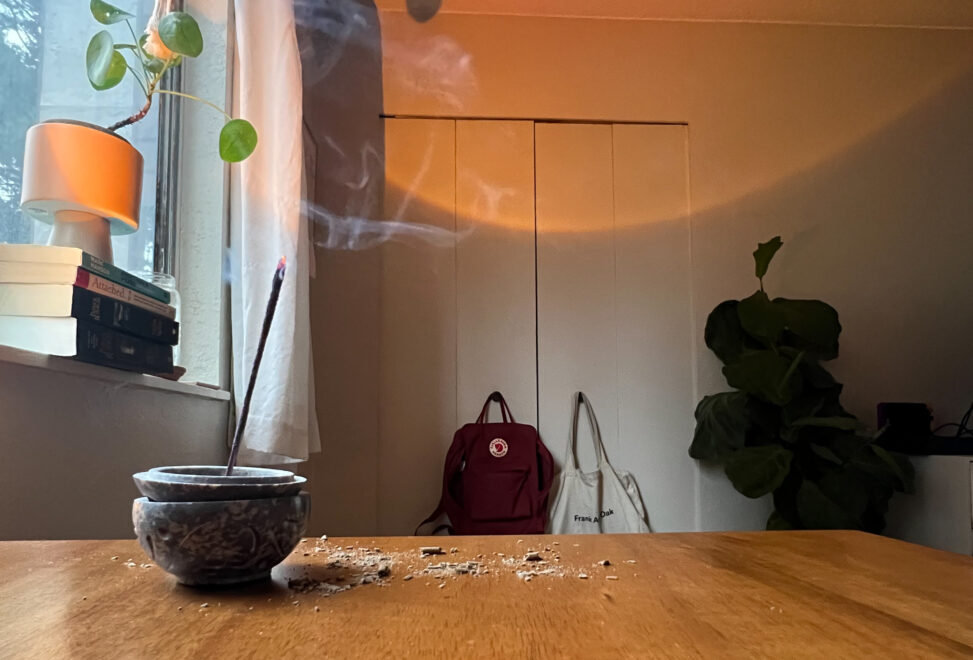
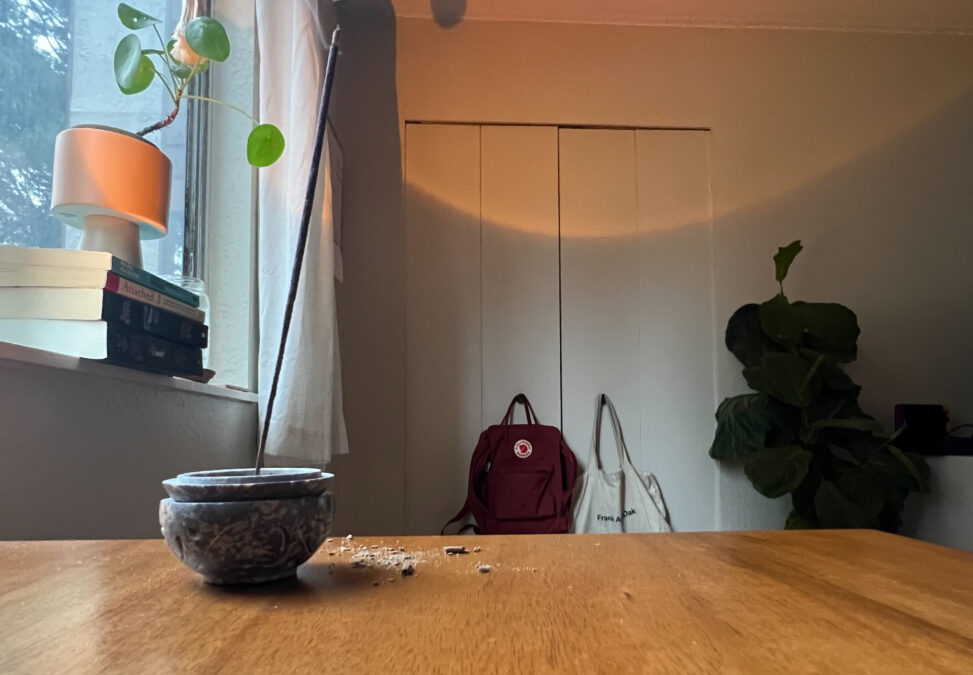
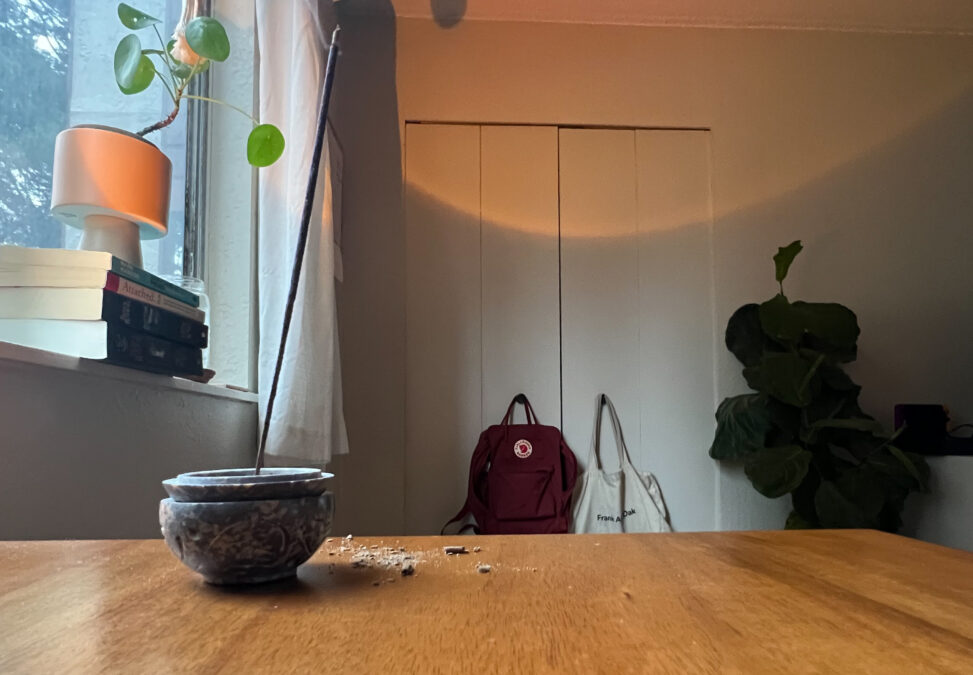
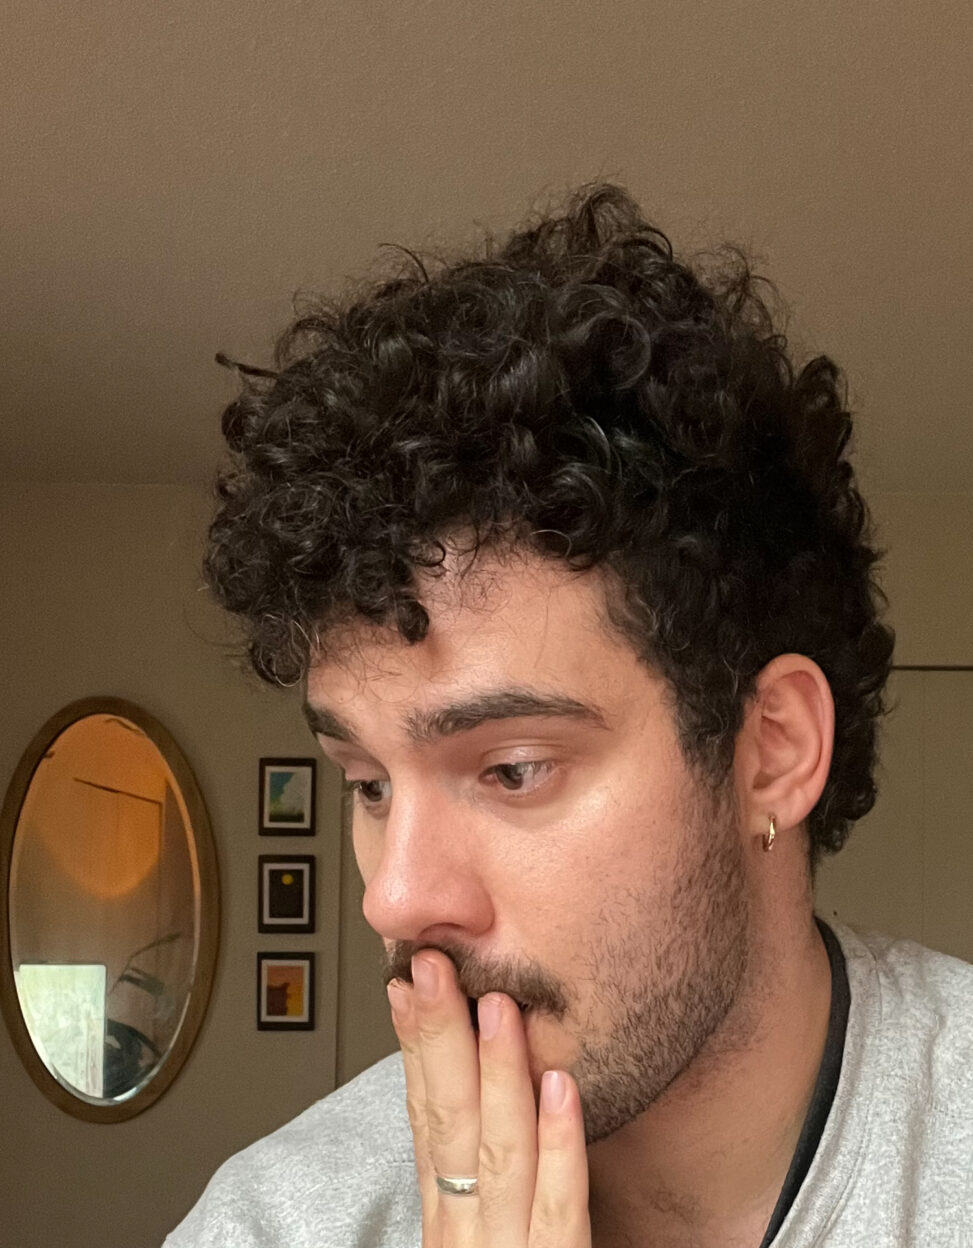
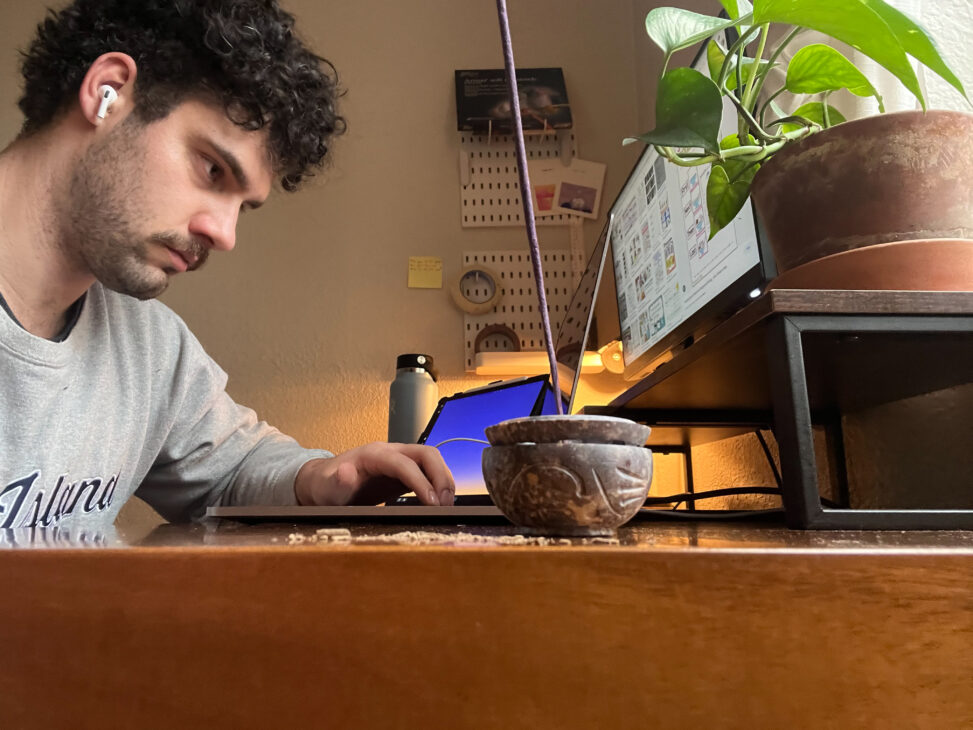
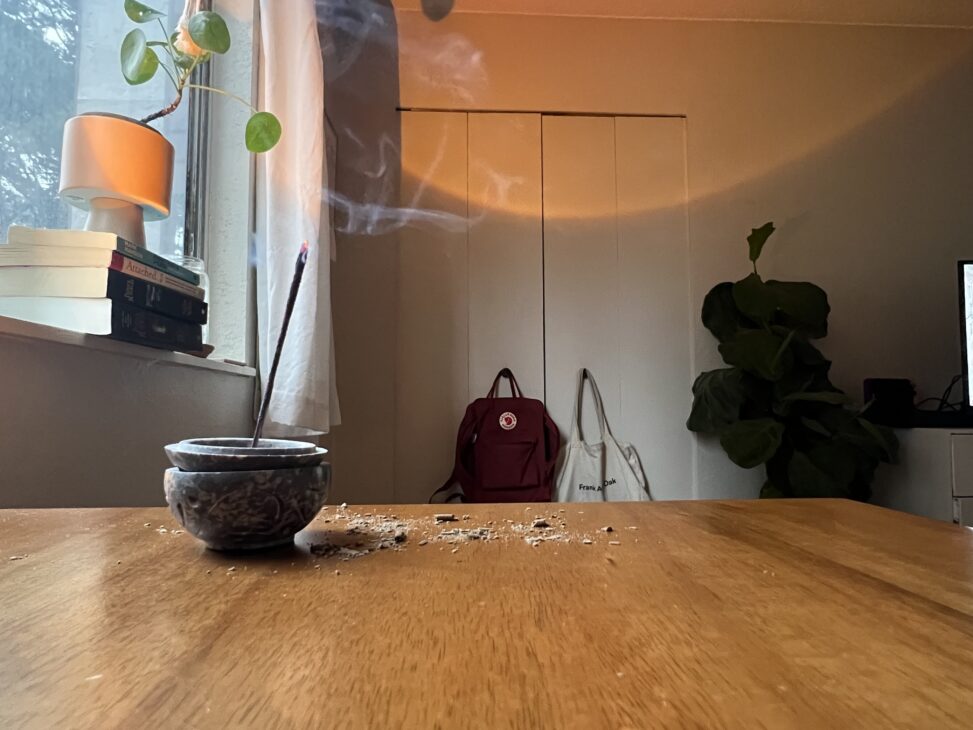
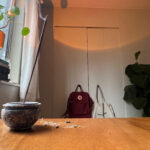
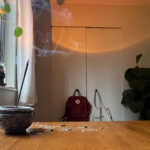
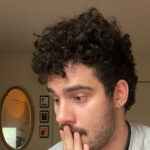
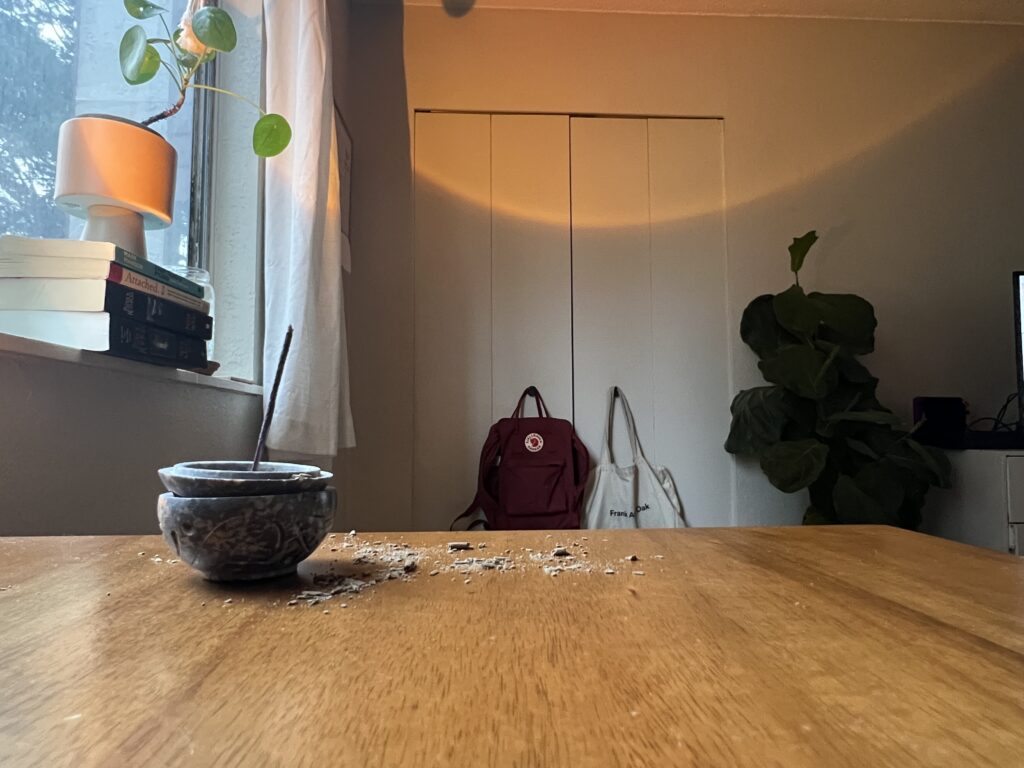
I wanted to add a warm feeling with my orange light, so I made it so it showed up in each photo sequence. I was able to capture it in each one, in different ways. It was in the background of the sequence images of the incense burning, reflecting off of the mirror behind my head for my close up sequences and it was in the background shot of me working. I like to get cozy for the short days and winter nights so I will always have a lot of orange/yellow mood lights to set the ambience of my bedroom.
Texture
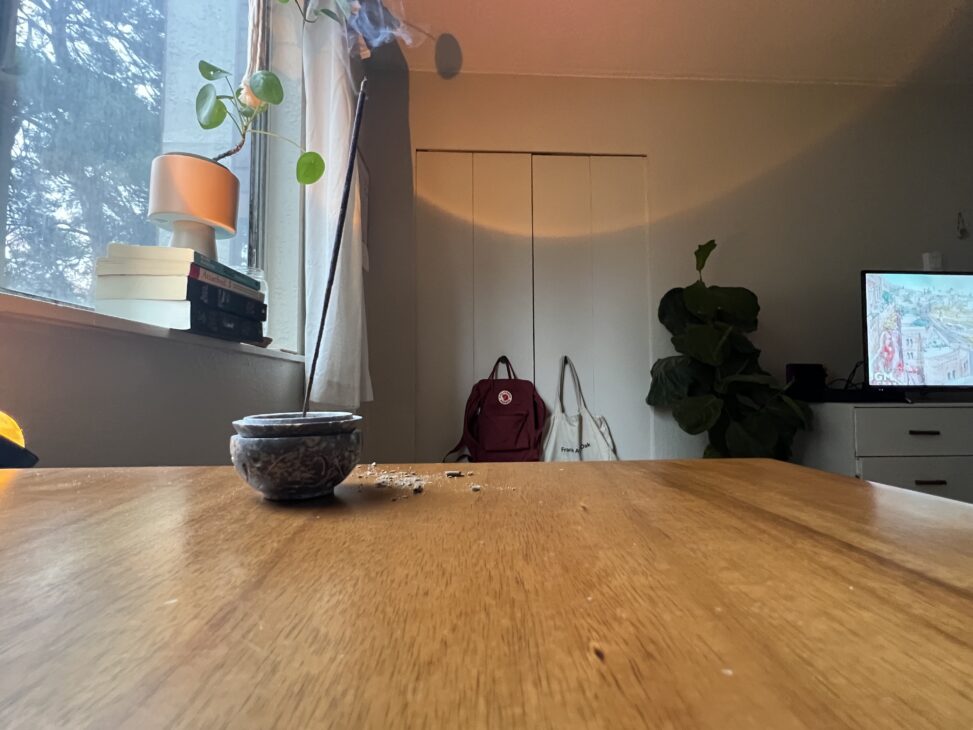
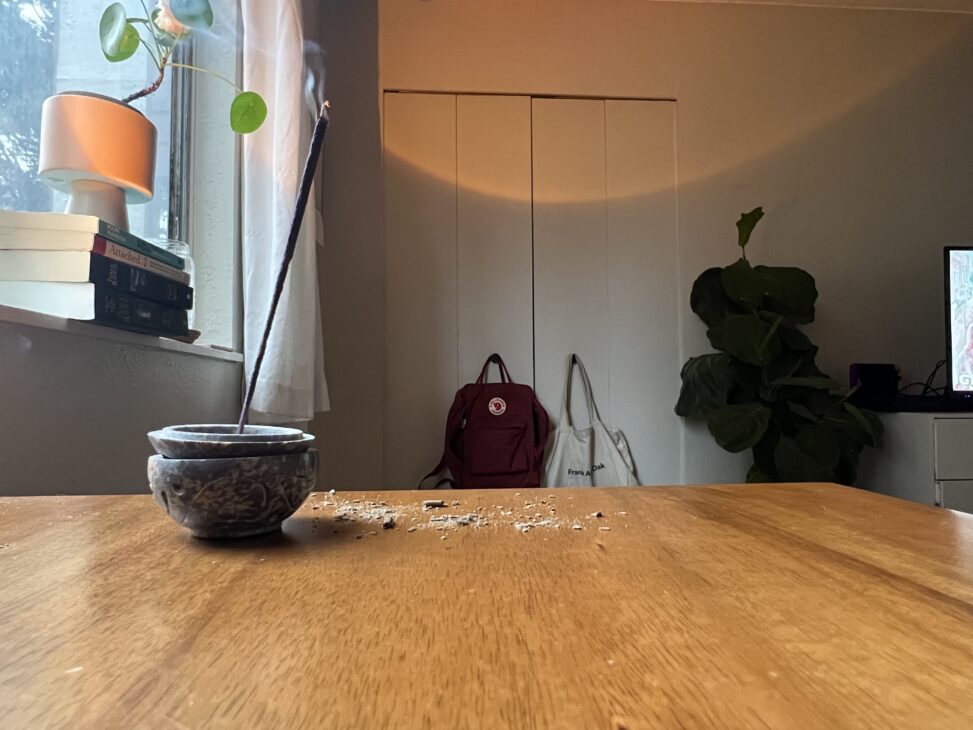
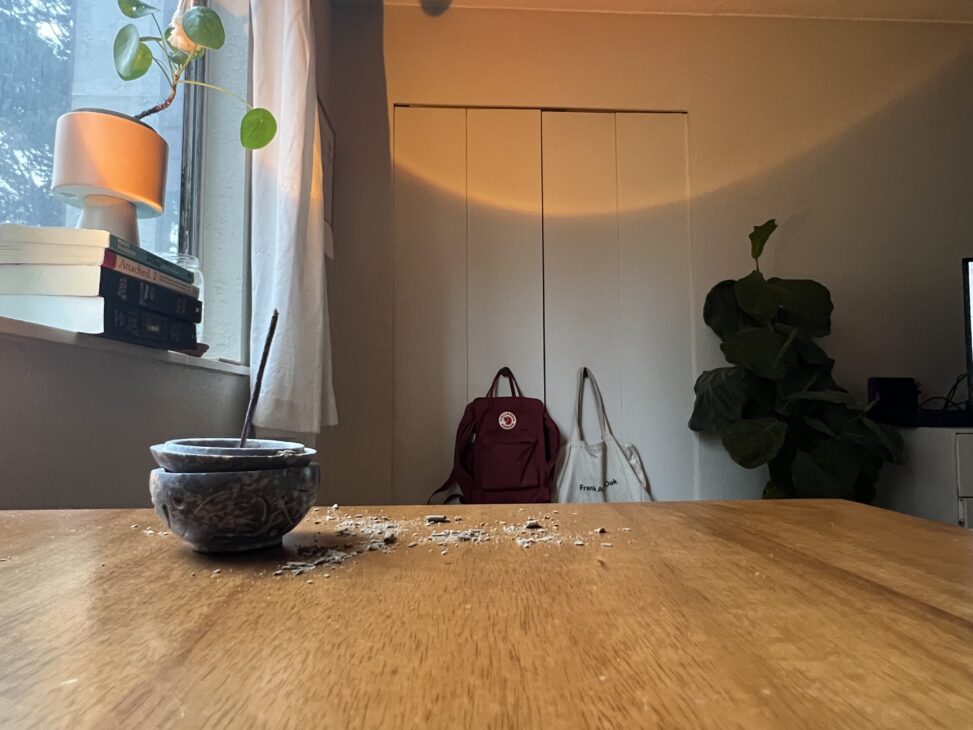
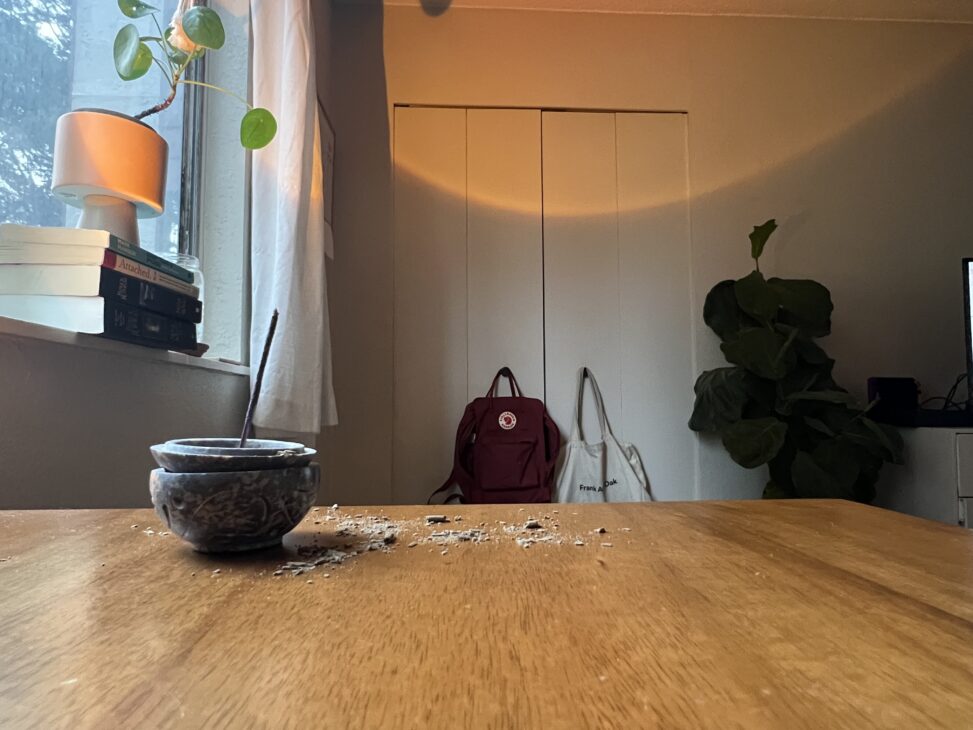
There is a lot of texture and textural differences in my image sequences, and I wanted to showcase each one. I wanted to keep the focus on all the burnt incense on the desk, so I made sure the camera was pointed in a way to center it. This left the incense itself in the left side of the photo drawing the viewer to it first and then bringing it down to texture of the burnt incense.
My hair is another texture that I wanted to add to this sequence. You can see it in the image where I placed the camera just under my desk ledge, and in the close up images of me doing work. I wanted to make the portrait photos of me cropped so I appear the right, and you can see a part of my room to the left for a more interesting approach to the sequence.
Repetition
I used repetition with showing the same shot angle and subject matter. Throughout the sequence of photos, the camera angle stayed the same while the incense burned smaller and smaller. I used repetition with my closeup shots, I’ve moved slightly and have different facial expressions, but my closeup cropped shot is still the same. It adds a level of connection when I present the photos in that order so the viewer knows that they are related.
TECK EX 06 – Shot Composition
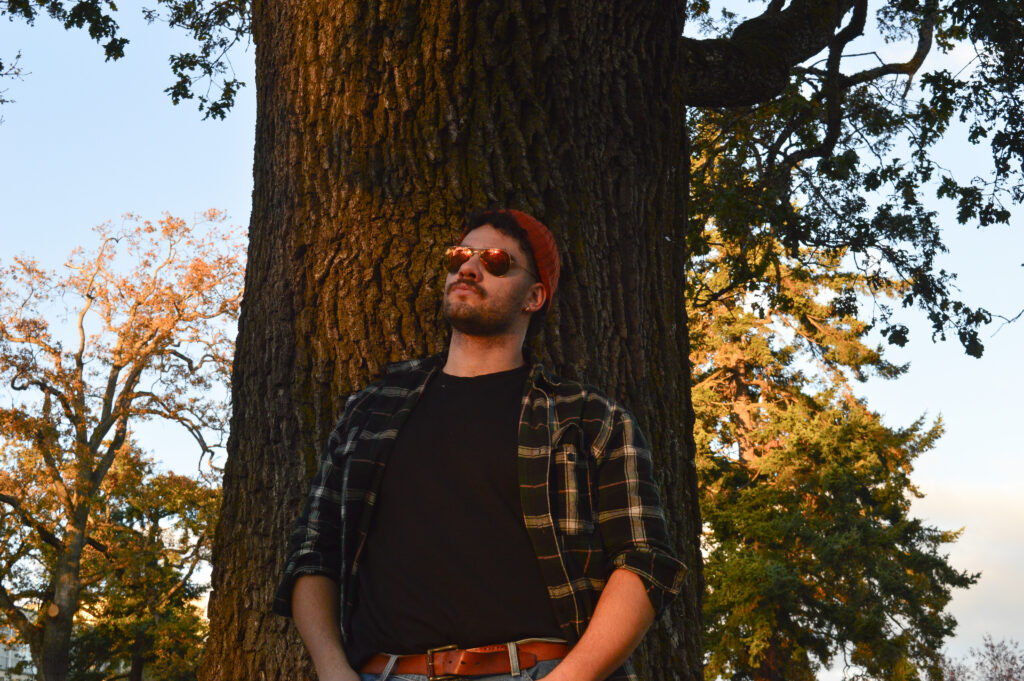
Medium Close Up – Over the shoulder
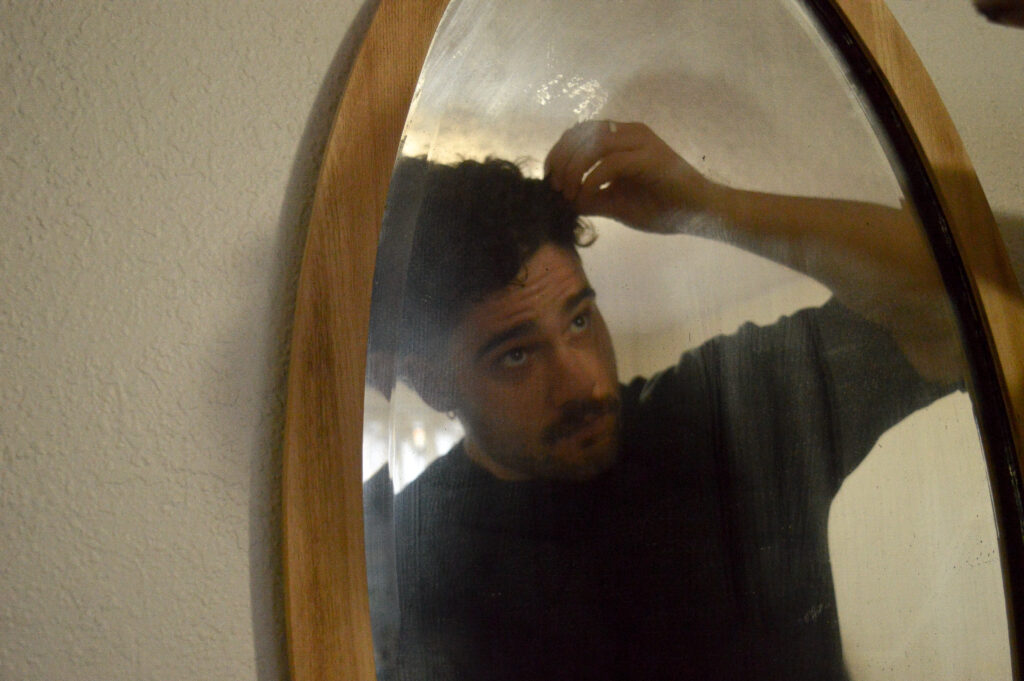
Insert Shop – Hip shot
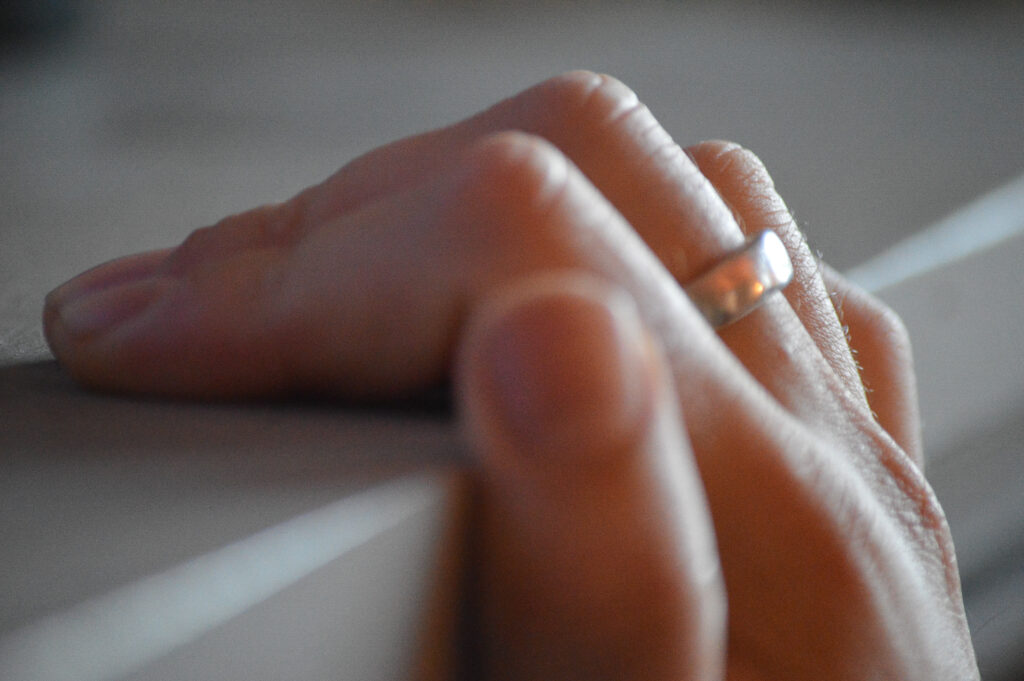
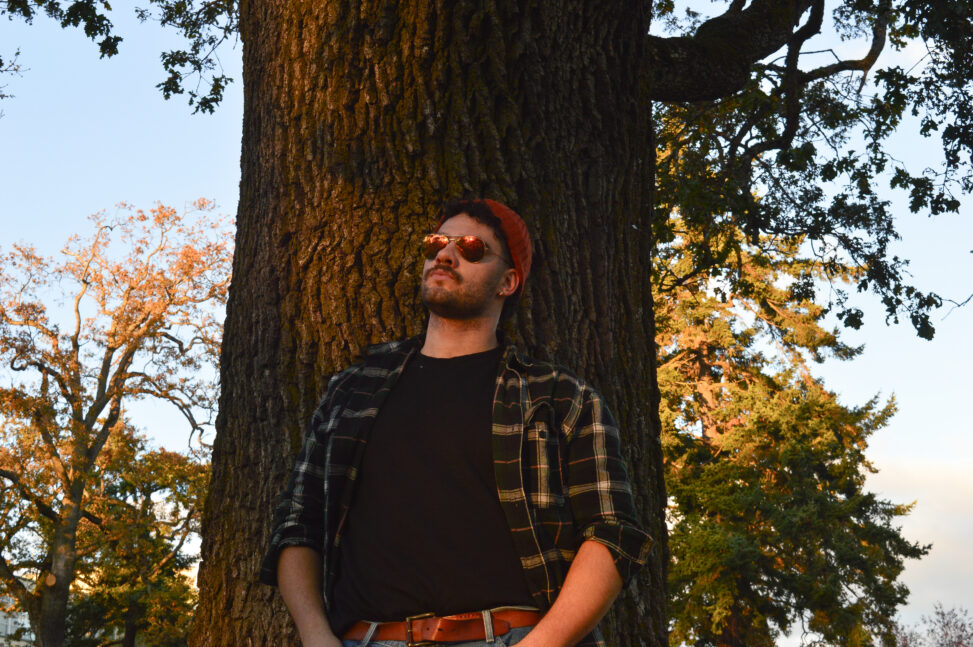
Cowboy Shot – Worms Eye
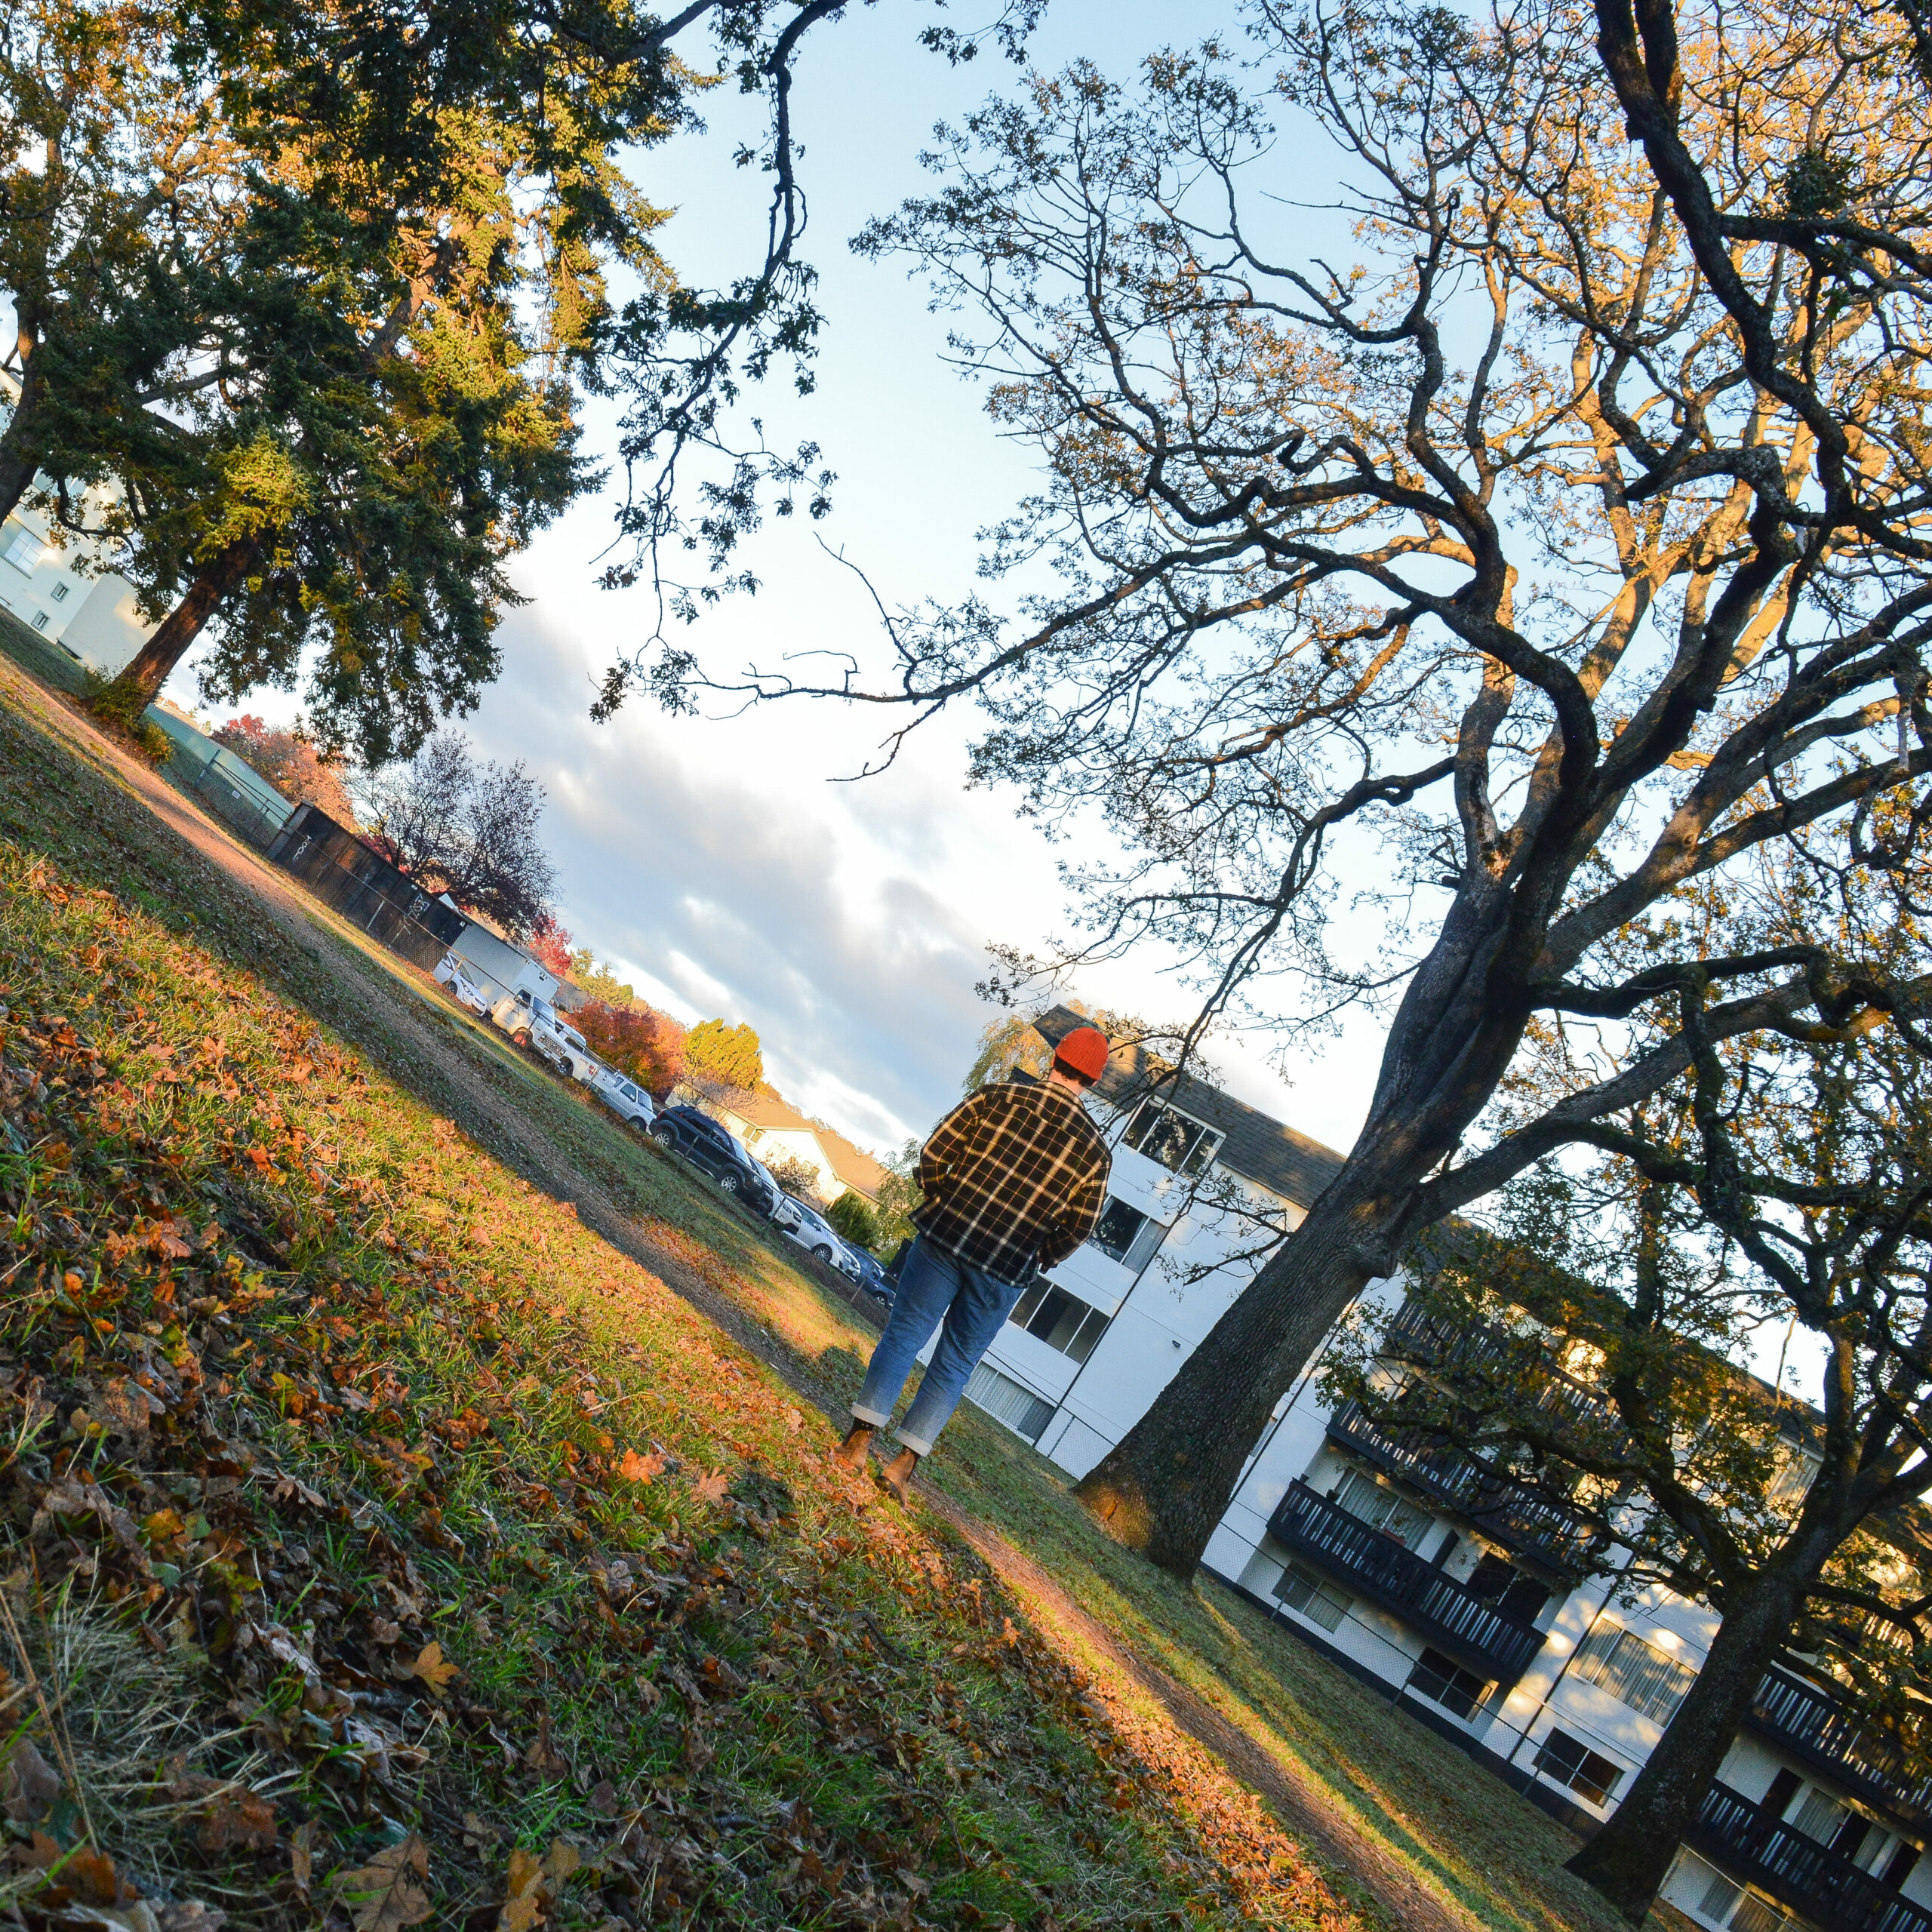
Wide Shot – Dutch titlt
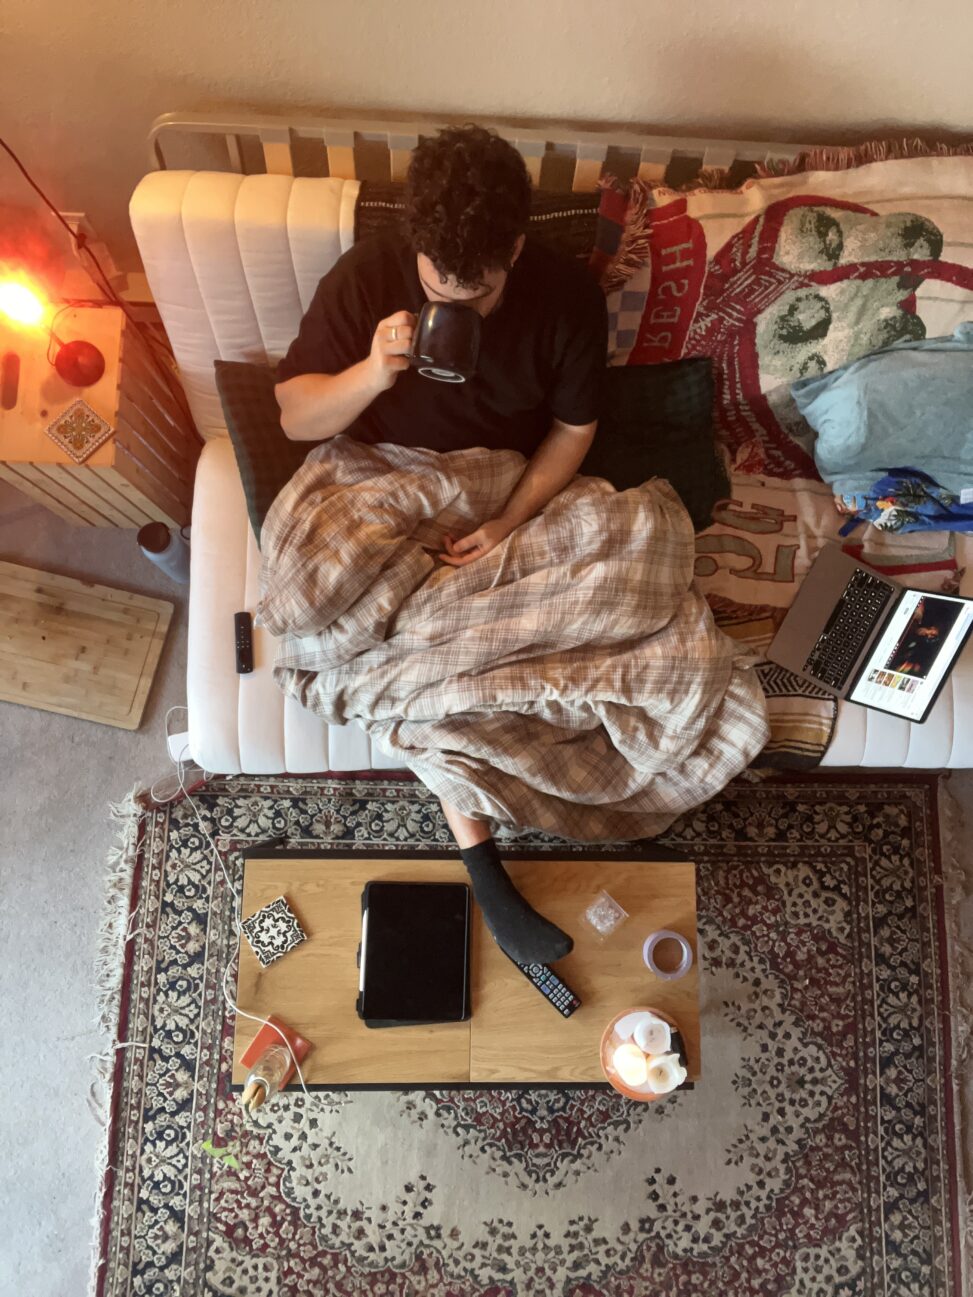
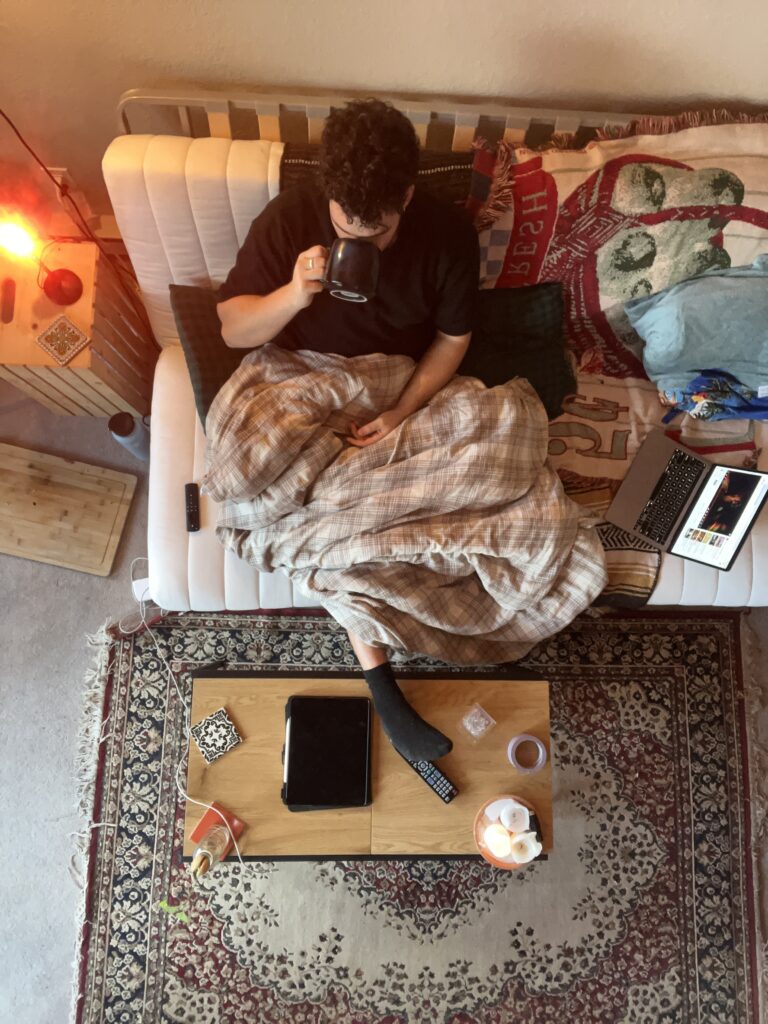
Full Shot – bird’s eye
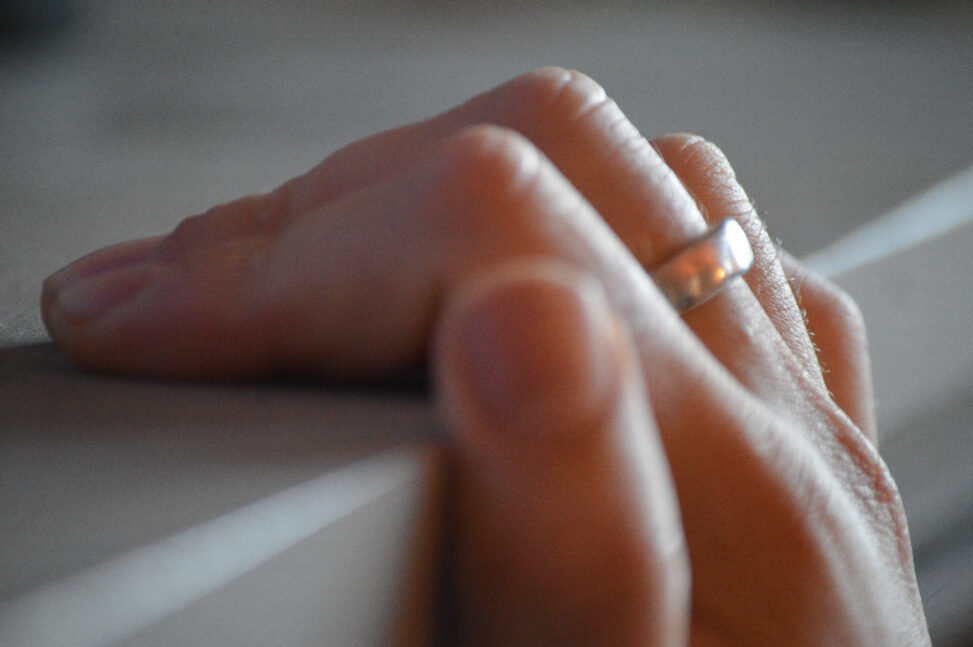
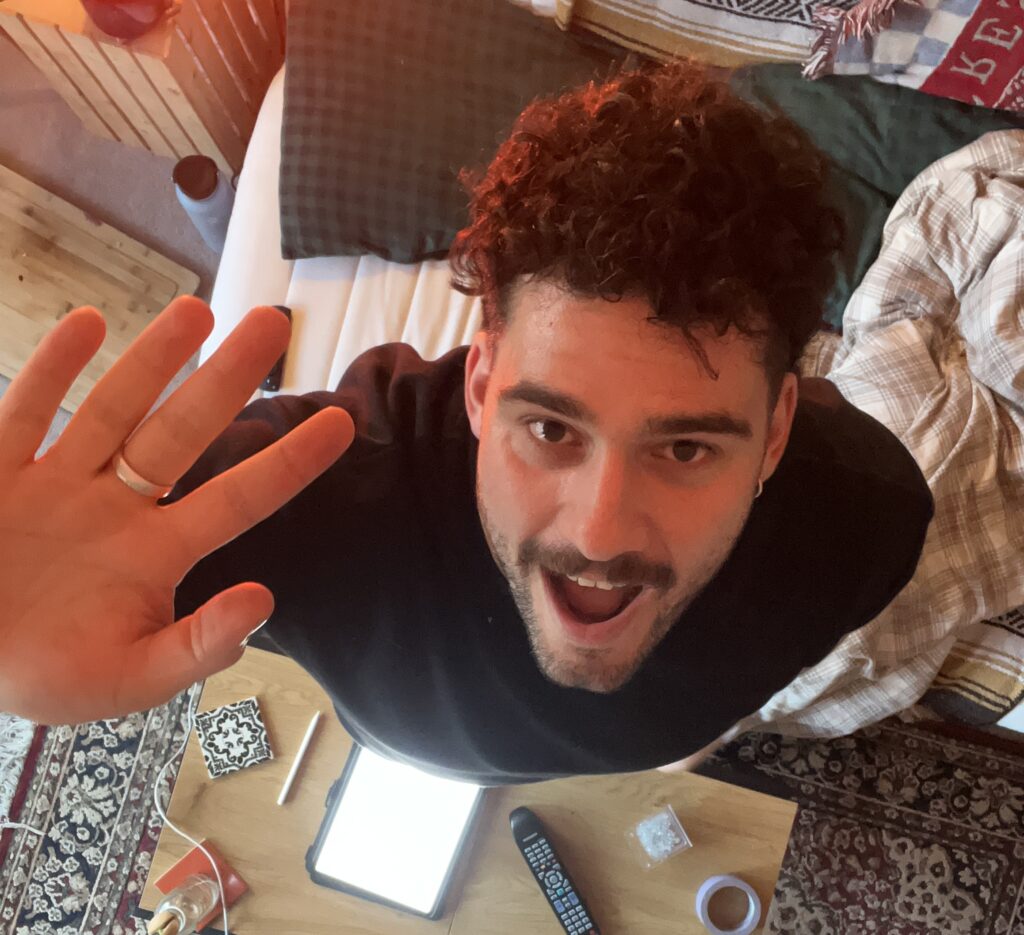
Close Up Shot – overhead
Week 9
TECH EX 07 – Video editing basics
This week we learned the basics of Premiere Pro. We had to crop, edit, and crop many clips into a mini trailer about a pottery artist on Vancouver Island. I learned a lot, and had a couple headaches with trying to follow the video. The bridging dissolve feature is very finicky and I couldn’t sequence in and out no matter how many times I tried.
Week 10
TECH EX 08- Titles and Stills
Titles
In this video exercise we learnt how to use edit using titles. We edited in a title of a mans name and profession with an animated effect. I’m excited to use this premise in my project video, it’s going to make it very camp !
Stills
In this exercise we learned how to frame still photos. We learned a shortcut on cutting photos to the beat of a song and then animating them so they are moving. This was a very helpful exercise!
Week 11 – Colour + SFX + Masks
Part 1 – Colour Correction Basics
For this file we learned how to use correction tools like changing the hue, saturation, brightness, whites, blacks and so on. It helps that each step is in order of how you should fix the video, it really helps to know that in the future.
We learned how to use colour curves in this part of the lesson. We used curves to colour correct an image or a video so it can be balance and show harmony. We also learned how to copy the adjustments over to other clips in a video as well.
Part 2 – Colour SFX
We learned a bit about SFX in this exercise. I didn’t get the file sin the second tutorial video so I just used the same on and applied different effects to it.
Part 3 – Spot Colour + Masks
We learned how to make a colour mask on a kettle, and used the “leave” effect to saturate the colour of a flower
Week 12
Part 1 – Audio Gain
In this exercise we learned how to match audio with multiple clips that are meant to be in the same clip, but have different sound levels. This was a helpful tool to learn and i’m excited to learn how to make the audio more crisp.
Part 2 – Track Mixers
Party 3 – Essential Sound Pannel
Project Proposals + Thumbnails
Project Rough Draft
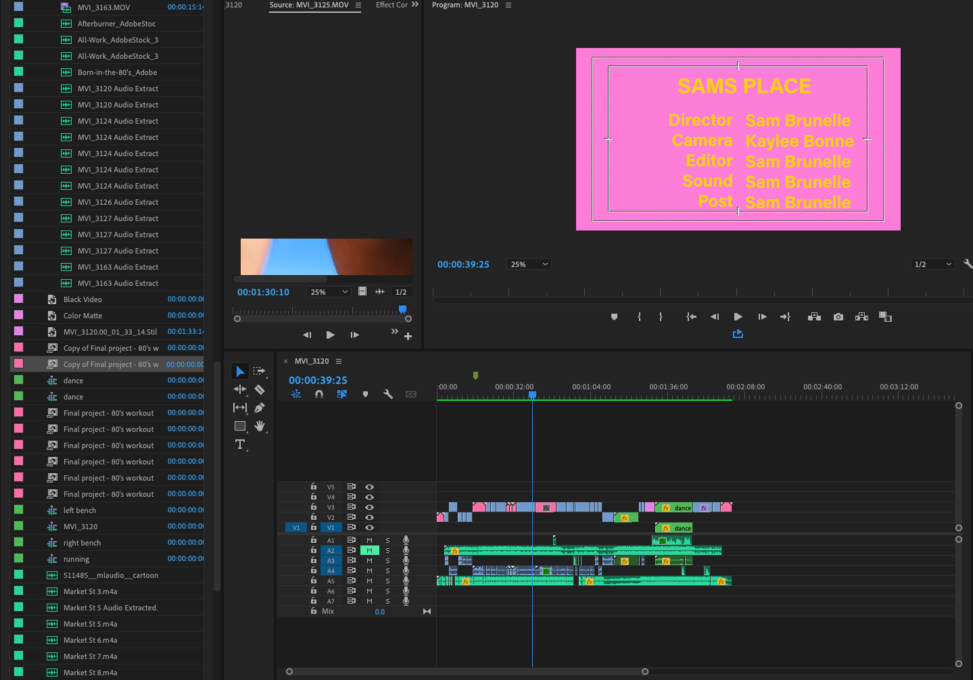
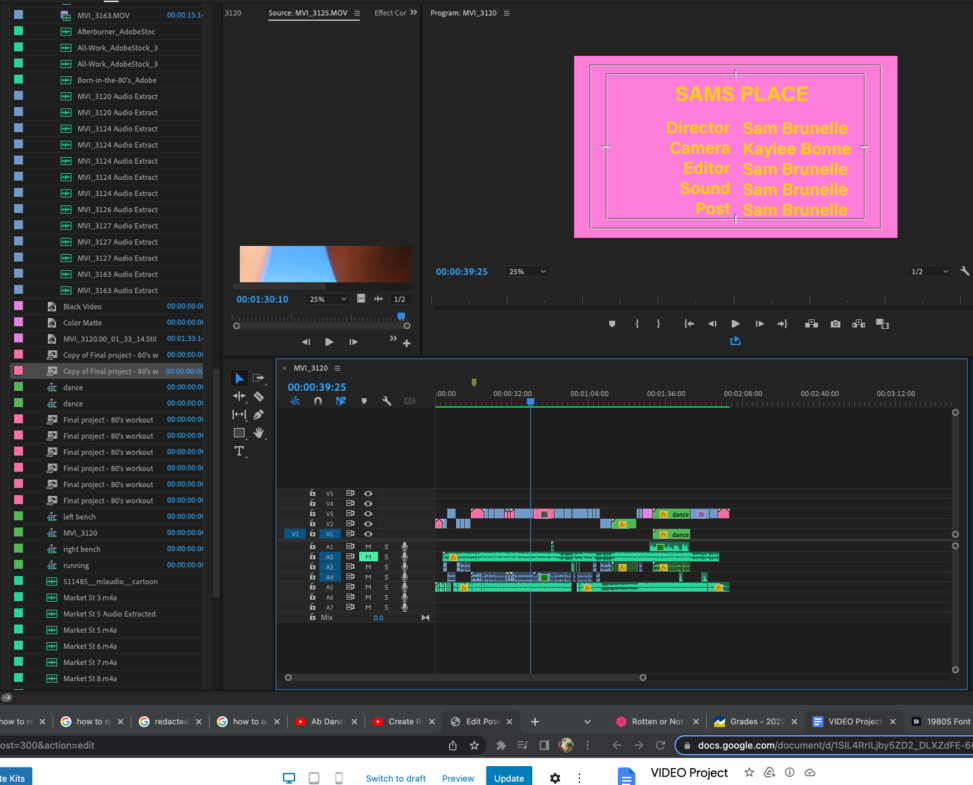
Here is a (very) rough draft of my project. I wanted to show you the clips I cut from all of my footage and the sort of filter/ music I will be using. I am going to add some dialogue to the parts where i’m working out and add some pink words coming out of the screen when I say certain things.
Final Project
Personal critique
I am overall happy with my project video. There were a couple hick-ups on the way and I now know how to prevent them from starting . I captured the essence of an 80’s infomercial and gave it a fun and cheerful atmosphere. My main critique for myself would be the audio. I gave it my best with correcting it with audition and while I have succeeded in doing that with some of the audio clips,I didn’t with others.
It was cool to film myself and see how I am in front of a camera with a script. I’ve never done something like this before and it really pushed me out of my comfort zone. The cheese and cringe was worth it because I got a lot of laughs and some fun editing time.
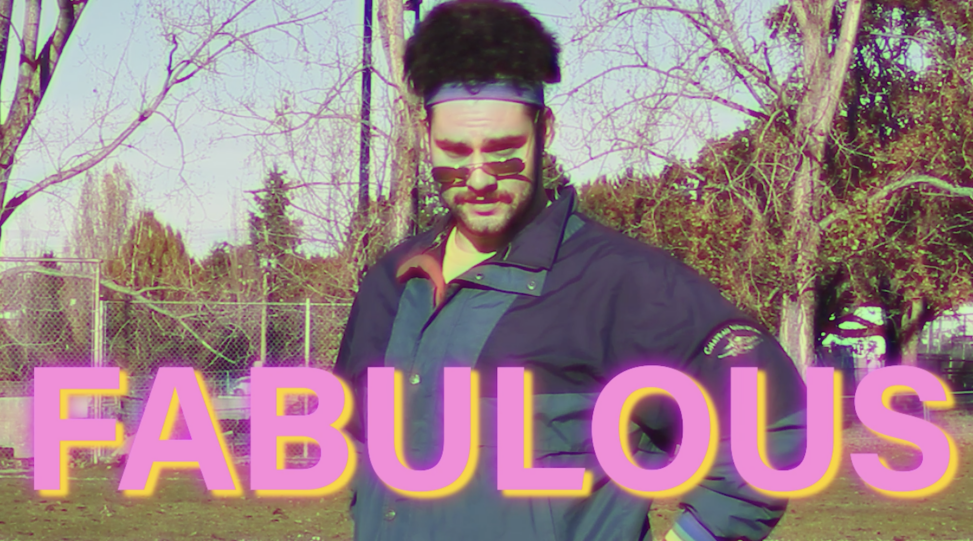
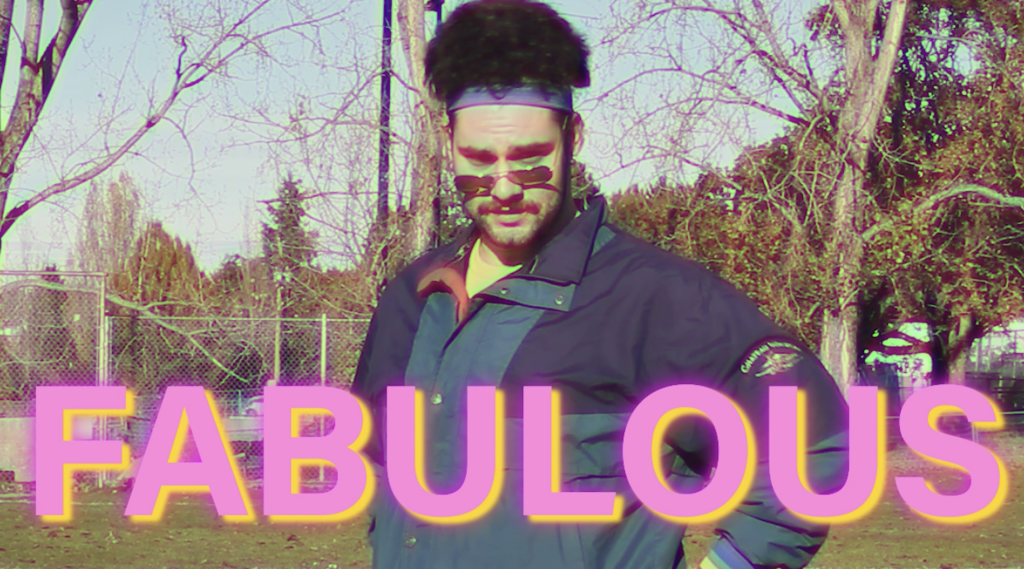
I explored the 80’s aesthetic through my bright colors, old style video editing and the outfit I wore. I learned the hard way that I shouldn’t add too many video filters in the beginning because rendering takes a LONG time with the rest of the video editing process. I think this video works with what I was trying to go for, I gave a fun video for the viewer to laugh and (sorta) cringe at. If you felt that then my job is done.
Project Statement and Reflection


For this project we were to create a video poem, or a commercial/ trailer of some sort. I chose to go the commercial route with my project. We are to take what we learned all semester and apply it to this final video.
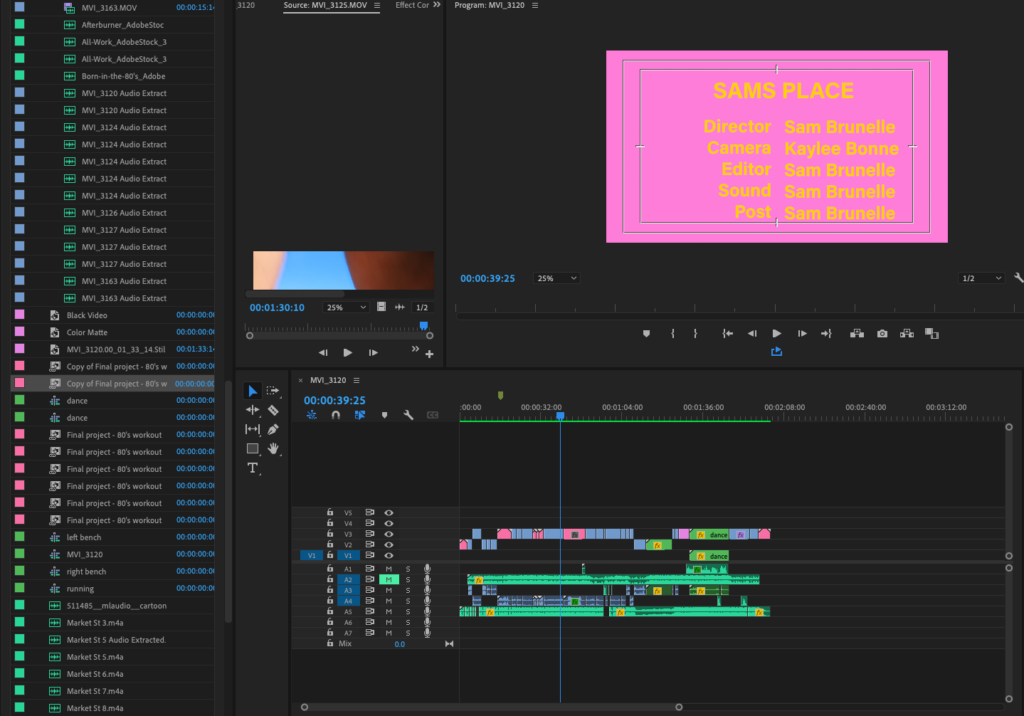
My video is an 80’s workout infomercial featuring me. I created this using Premiere Pro, Audition, and After effects. I captured all of the footage at a park near my house with a cannon camera on a tripod. When it came down to editing this project I had to make some decisions. The audio had a lot of noise pollution in some of my clips so I decided to edit them out using audition, I realize that this wasn’t the best direction to go, but I wanted to play around with different sound effects as well as de-noise it. Once I corrected the sound and clipped all the shots I wanted to use, I put them together and then opened them up with after effects. I wanted the colors to be bright and 80’s so I used a neon yellow and pink for all the type. I feel like this really added to the atmosphere of the infomercial and gave the viewer something bright and joyful to look at.
My voice is the main sound I used in this. I did narration and also spoke to the camera. I added a couple sound effects with Audition and imported some from “freesound.org”. I really wanted to use a song that was upbeat since it’s about working out, I found the song that I chose from adobe music.
This video was challenging but fun to make. I learned a lot with being in camera, having to look at myself and fine edit everything to the final details, it has made me become more accustomed to being in front of a camera. If I ever do this again I will be more careful with filming somewhere with less noise pollution, it’s better to be careful with the raw footage over trying to just edit the sound out. i was considering doing what you said and to film in front of a green screen, but I wanted to edit what I already had and edit new sound clips so it would match the the rest of them. I used a filter on all the speaking clips so it made the speech sound more vintage. I hope you liked this video, I had a lot of fun making it.
Thank you for another great semester!
